Hi everyone 
A short tutorial for Gladys developers explaining how to build a test Docker image.
Prerequisites:
Have a Docker Hub account
Step 1: Create these environment variables in GitHub Actions
Go to your Gladys fork, in the « Settings » of your repo:
Create these secrets:
DOCKERHUB_PASSWORD (Peut-être un mot de passe clé d'API)
DOCKERHUB_REPO (L'image Docker a pousser, exemple: `pierregilles/gladys-test` )
DOCKERHUB_USER (ton nom d'utilisateur sur DockerHub)
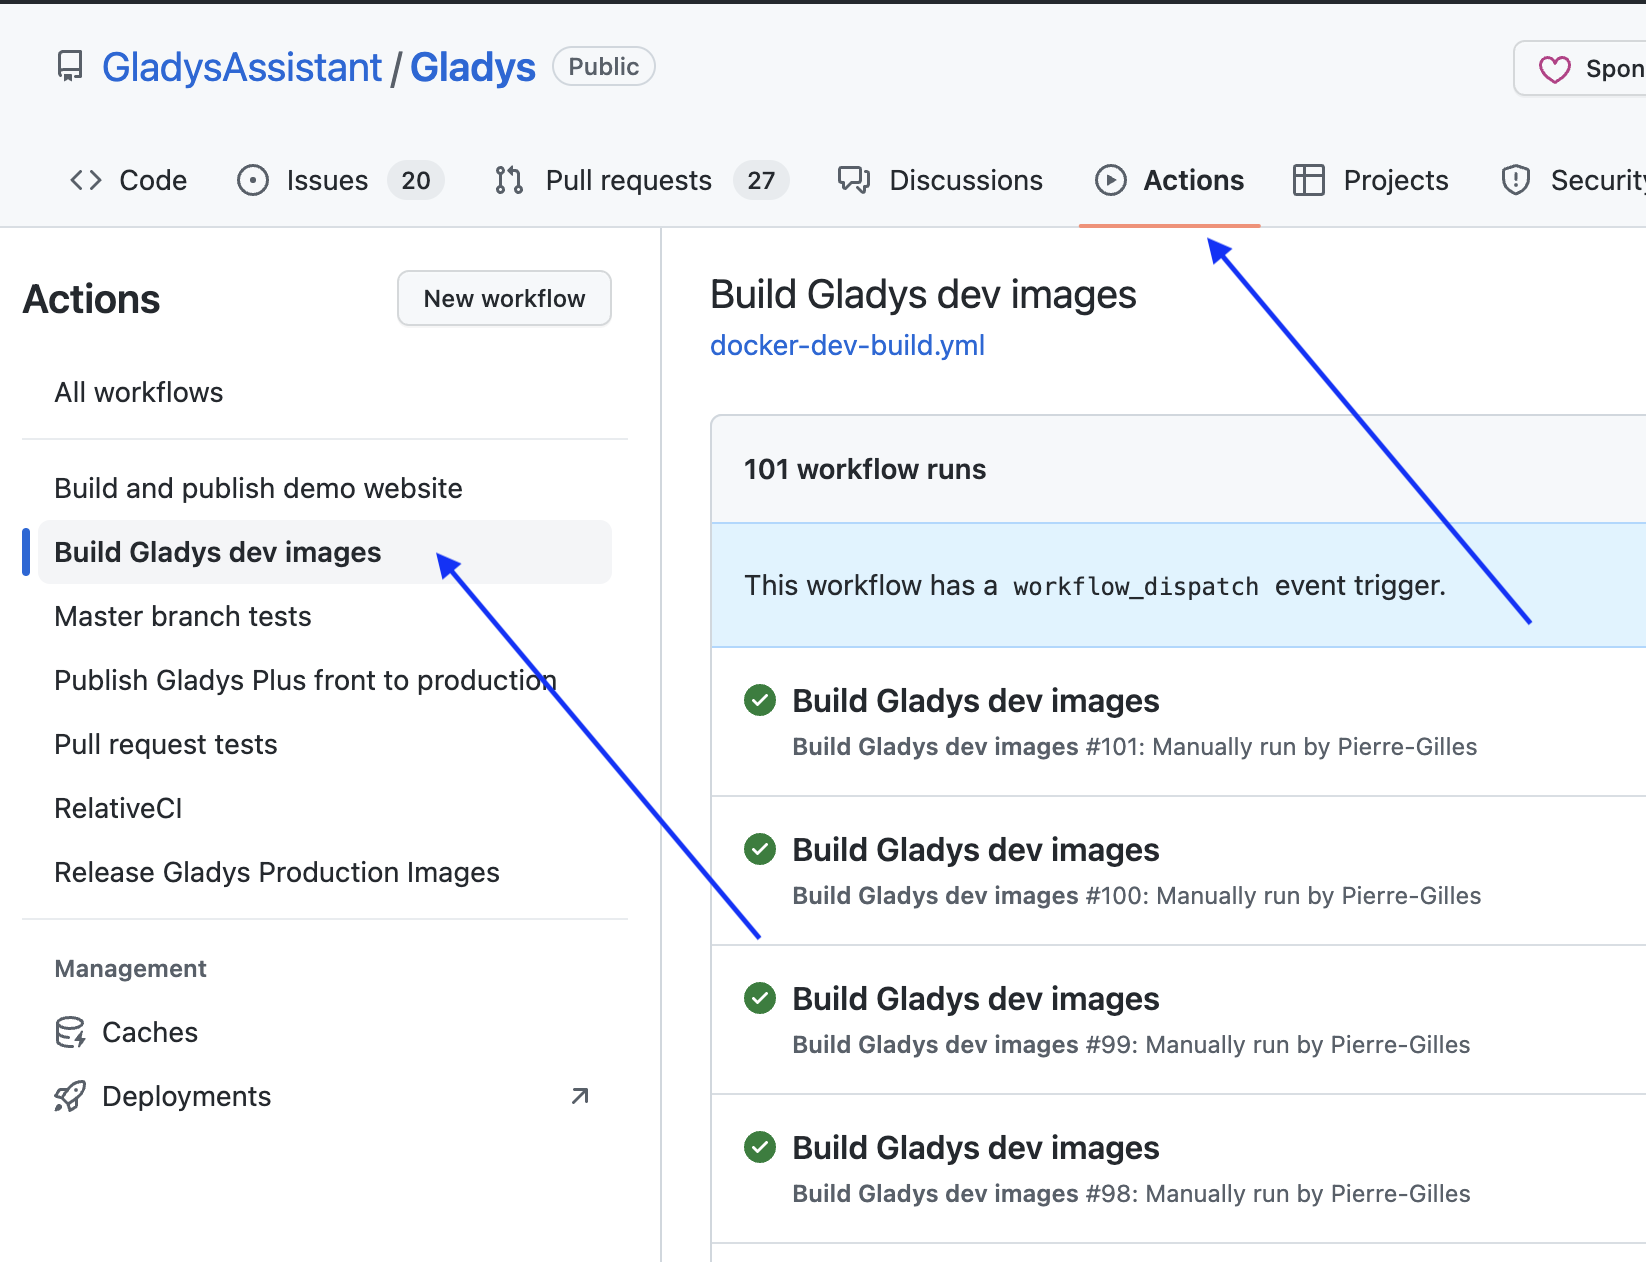
Step 2: Go to the « Actions » tab => « Build Gladys dev images »
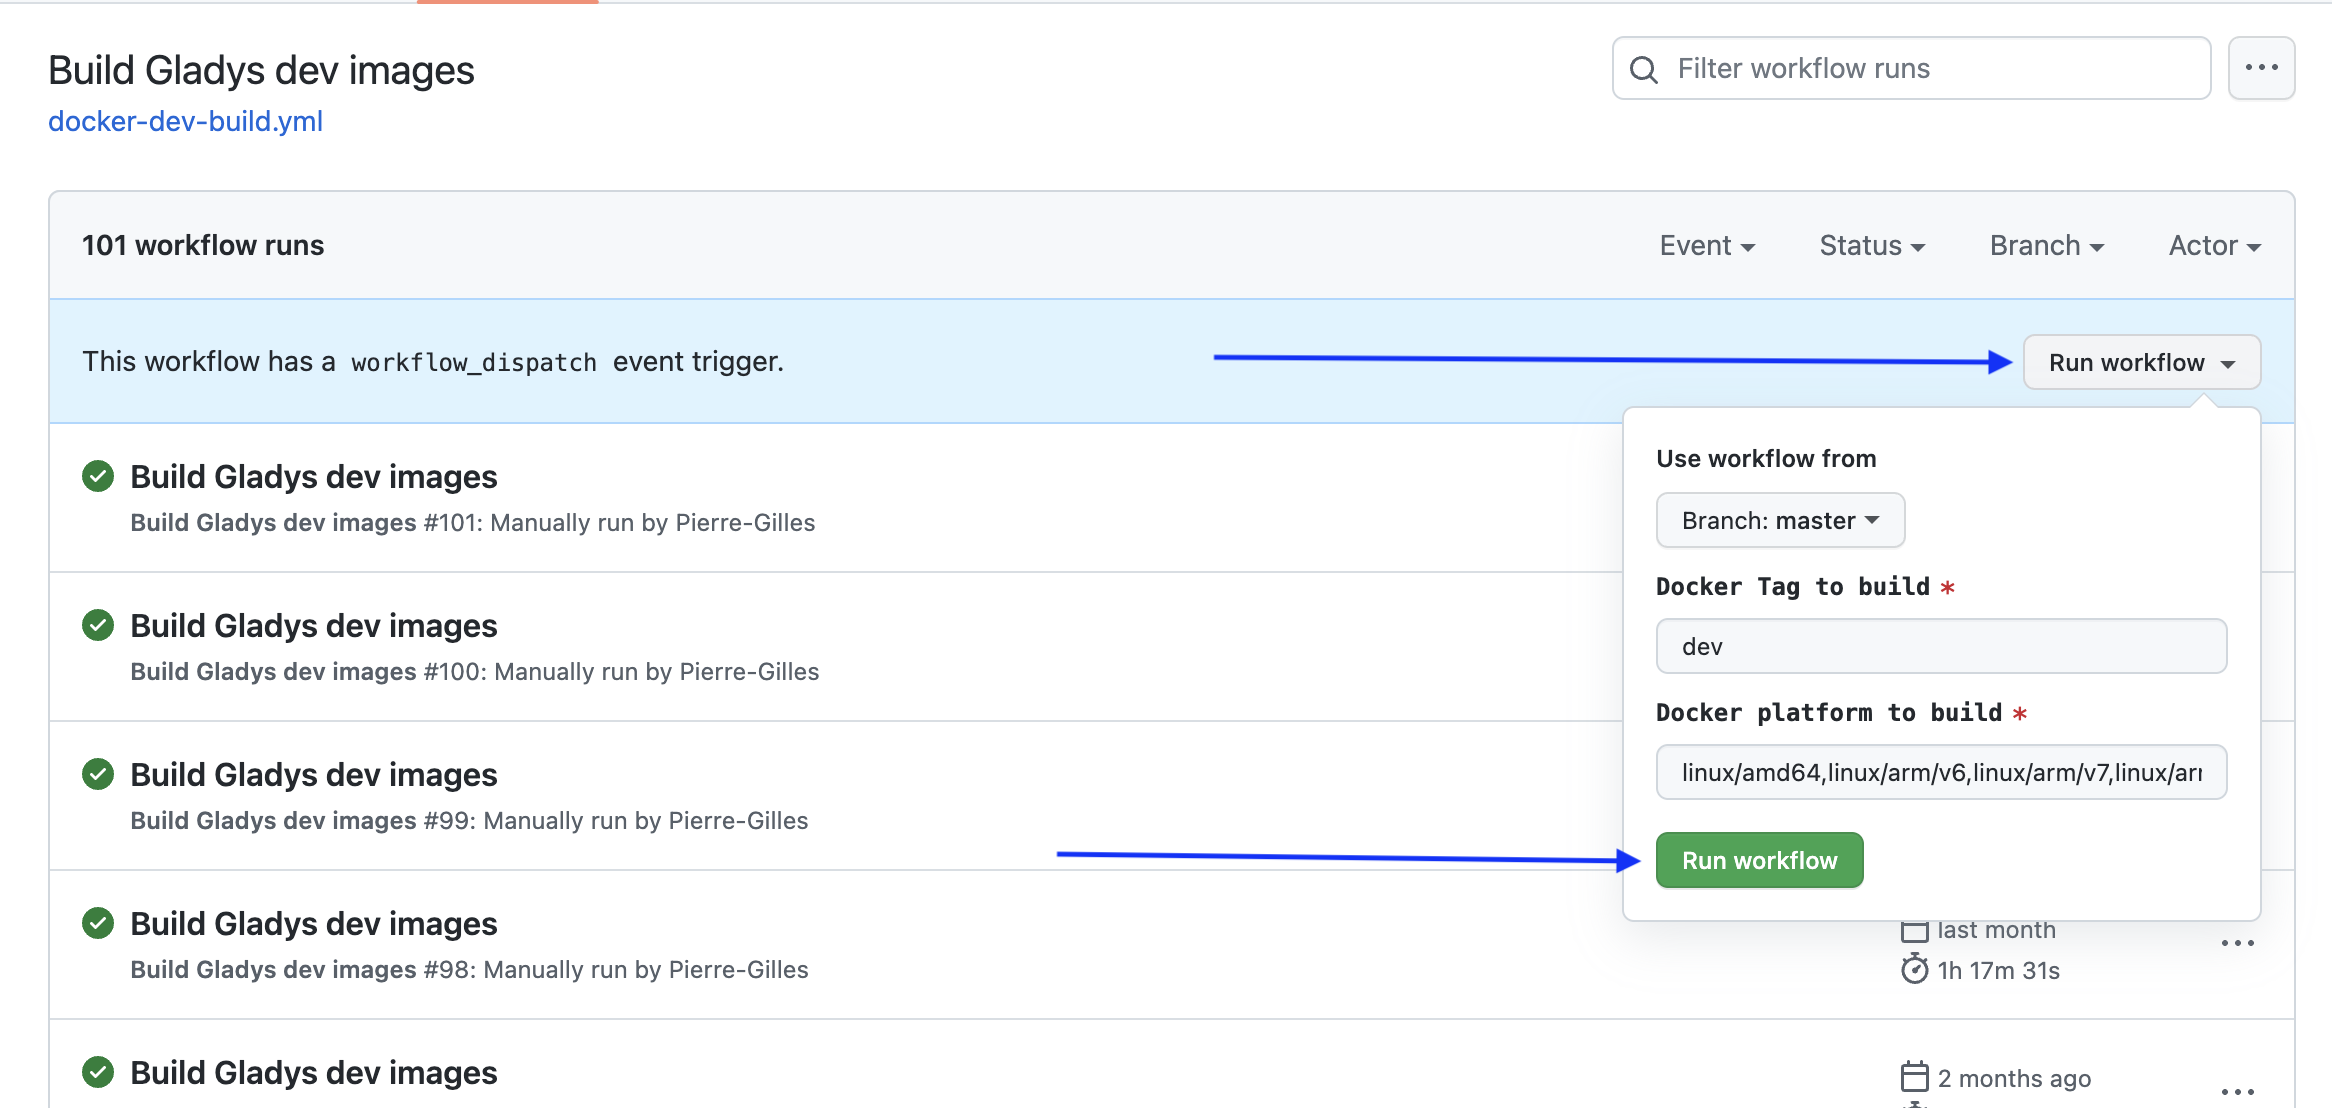
Step 3: Start a build
Click « Run Workflow » and select the branch to build, the architecture to build, and the Docker tag that will be used!
The build takes about 4 hours if you select all platforms; if you want to save time, you can remove arm/v7 which is quite slow
Step 4 : 
That’s it, you can share the built Docker image which is available on the Docker image:
your_username/gladys:your_tag
I got started, and I ran into a few points, so I’ll clarify what I ended up understanding. It might help others ;-)\n\nI had understood by following this page that I needed a GitHub account and a repository to clone the Gladys code into. But I didn’t immediately realize that you also need a Docker account with a repository. The account is created here and the repository is created on the page https ://hub.docker.com/repository/create?namespace=[your docker username]. And it’s this repository name that you must configure in GitHub as the secret DOCKERHUB_REPO (in the format [docker_account_name/repository_name]\n\nThe DOCKER_USER secret is the docker account name, easy. But the DOCKER_PASSWORD secret is not the password of that docker account. You must create a ‹ Personal Access Token › in Docker (on the page https ://app.docker.com/accounts/[your docker account name]/settings/personal-access-tokens), with the ‹ Read, Write, Delete › access rights.\n\nThen, going to the GitHub Actions page, the ‹ Build Gladys dev images › is not visible directly. You must first accept the warning that says ‹ I understand my worflows ›.\n\nWhen you start the ‹ Run workflow › step, a message says "Workflow run was successfully requested.", which means the build runs in the background on docker.com’s servers (and not locally on my computer). Returning to the ‹ Actions › page, you get confirmation that the build is in progress…\n\nLast point: I had to rerun the build 3 times. I had an error the first two times saying "unable to access ‹ xxx (Michael Dungan) · GitHub ›: The requested URL returned error: 500". Apparently these are ‹ classic › issues when docker and/or github are a bit busy…
Another point I hadn’t understood: the repository created on docker.com must be configured (on the ‹ Settings › page) as a public repository, even if it is not intended for other users. Because otherwise the ‹ docker run… › command to deploy this version on your hardware will not find the repository, and the following error is displayed:
Unable to find image ‹ xxx/xxx:xxx › locally
@StephaneB otherwise, you can run a docker login on your machine if you want to keep your repository private!