The approach (why a mini-PC?):
I started with a Raspberry Pi 3b+, an SD card and a Zigbee2MQTT USB stick. Then I added an SSD.
After some time I started to have problems with my Zigbee2MQTT stick due to a lack of power from the power supply and bugs on the stick.
I tried using a powered hub but the same problem persisted.
(Error: SRSP - SYS - ping after 6000ms)
A few of us experienced this error.
I then moved to a Pi 4. But the same problem occurred.
I sold the Pi 4 and bought a mini PC.
Cost & where to buy:
After some research and a lot of reading I chose a Dell OptiPlex 3040 or 3070.
Specifications:
Processor: Intel Core i3 or i5 series
RAM: 2 to 8 GB
1 x 500 GB HDD
1 Gigabit Ethernet (RJ-45)
1 HDMI
Wi‑Fi / Bluetooth
4 USB 3.0 ports (2 front, 2 rear)
2 USB 2.0 ports (rear)
Headphone and microphone jack
You can find them for around a hundred euros on Le Bon Coin.
So I sold the Pi 4 for €130 and bought the Dell for €110, and a Logitech K400 Plus keyboard+mouse for €37. Logitech K400 Plus Clavier Sans Fil Touch TV Avec Contrôle Média et Pavé Tactile, Clavier Francais AZERTY - Noir : Amazon.fr: Informatique
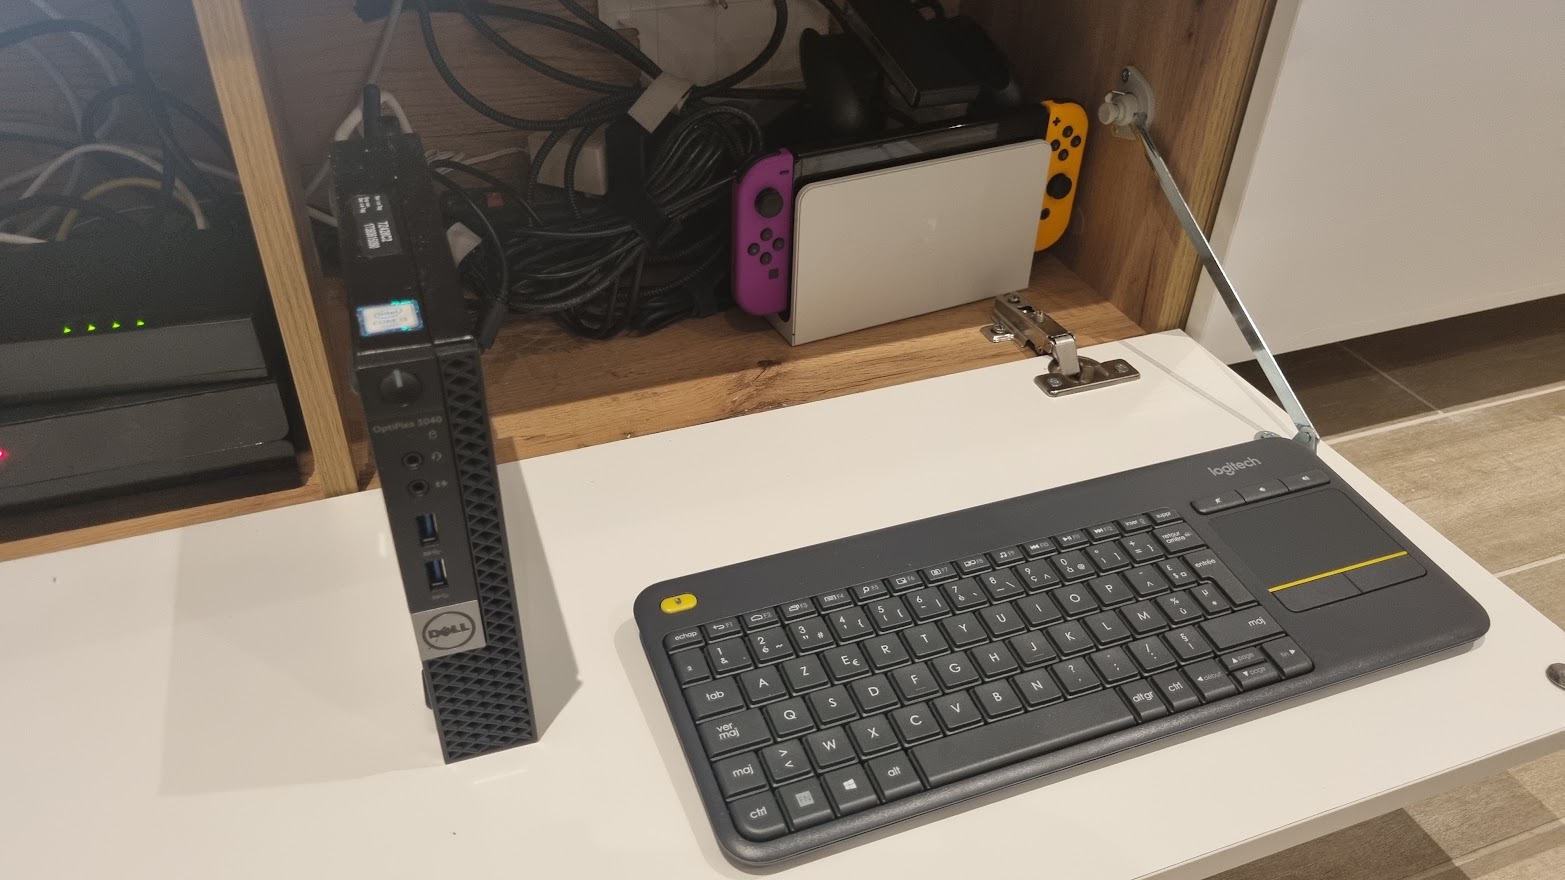
I absolutely needed an HDMI port because I wanted to connect it to my TV.
Actual photo:
OS installation / getting started:
The PC came with Windows 10 so I switched it to Ubuntu.
That’s straightforward.
Download your OS .iso onto a USB stick and boot from it when turning on your computer.
The OS will start and you will be able to install it.
I chose to install Ubuntu 22.04 LTS with the desktop so I could access it on my TV.
WARNING: currently Docker images are not built for 32‑bit x86 Linux systems, so you must use a 64‑bit version.
To make a bootable USB stick, I use the small program Rufus Rufus - Créez facilement des clés USB démarrables nothing complicated, everything is explained.
There are others like Etcher, or Unetbootin, …
Network configuration:
I chose to use an Ethernet cable but you can configure Wi‑Fi directly in Ubuntu.
Install Gladys:
After installing Ubuntu, we’ll set up Gladys.
Open the terminal and follow Pierre‑Gilles’s tutorial which is well detailed:
Gladys https://gladysassistant.com/fr/docs/installation/docker/
If you don’t know the IP address, you can download the Net Analyser app on your phone and scan your network.
You now have the IP address to access Gladys.
My personal feedback on this setup
I advise new Gladys users to use a mini PC for the home automation hub.
It’s much more stable than a Pi, more versatile.
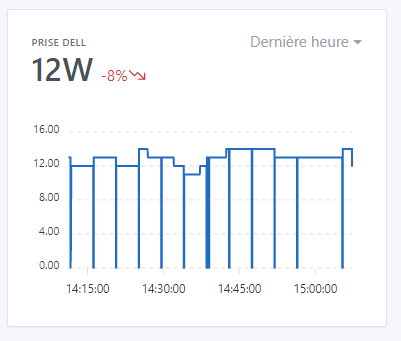
In terms of power consumption, I’m at an average of 12 W.
The mini PC is connected to my TV so I can stream whatever I want — games, movies — on top of that.
Ubuntu is very easy to use; it’s just an OS like any other for those who are apprehensive.
This is more of a user report than a tutorial, but if you have any questions don’t hesitate.
Edit: Here is the link to Pierre‑Gilles’s video that visually explains the installation of Gladys. https://youtu.be/6pBeBcgLvj0