Hello,
First of all, don’t forget that it is really very important to support [financially / in time] the open-source projects you use. This is how free and privacy-respecting alternatives can become mainstream and replace the famous GAFAM (Google, Apple, Facebook, Amazon, Microsoft) products.
So, I remind you that the simplest and most secure way to access Gladys from anywhere in the world is to go through Gladys Plus: Gladys Plus | Gladys Assistant.
And the cherry on top: it allows you to support this great project and push @pierre-gilles to spend even more time on it! ![]()
If for any reason you do not wish to (yet) support the project via Gladys Plus, there are solutions to securely access your instance.
Required « computer » knowledge level: medium.
Prerequisites
- Have a Gladys instance
- Know how to connect via SSH to your Raspberry Pi (part « Connect to your Raspberry Pi »)
- Have your internet box credentials to create a « NAT » (the links are below)
Method
In summary:
- Install a Wireguard VPN server on your Raspberry Pi thanks to the PiVPN* project
- Assign a static IP to the Raspberry Pi (and thus to Gladys)
- Open certain ports in your internet box (a direct access to the VPN on the Raspberry Pi in a way) to connect from anywhere in the world.
- Install an application on your phone or computer to connect via VPN
- You will now be able to access Gladys as if you were at home. Nothing is exposed on the internet and you remain completely safe.
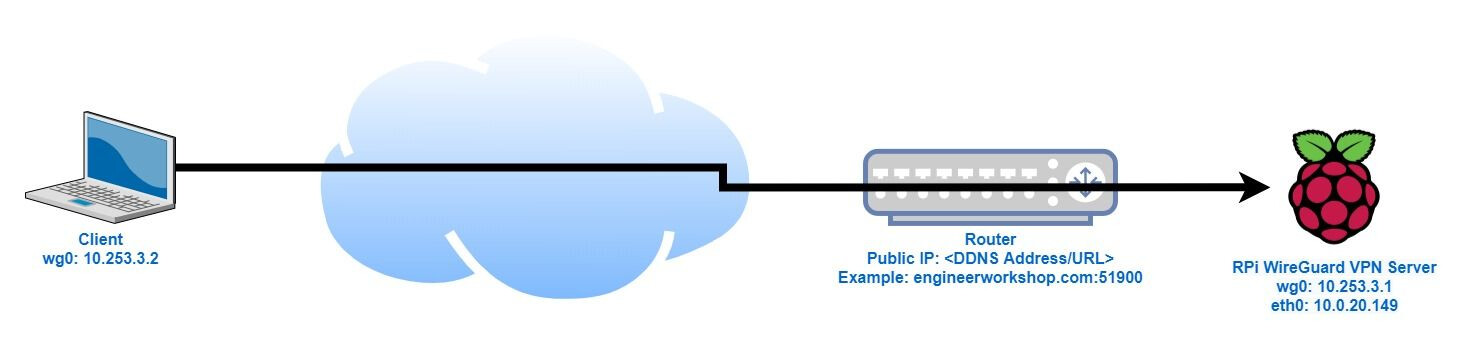
A VPN?
In simple terms: it is a software solution that allows you to act as if you were on your home local network, but from anywhere in the world via the internet.
Example:
You have left the house. By connecting your phone to the VPN at home, all your data will first go through your box before going to the internet. You will then be able to access Gladys via its name gladys.local or its private IP address (192.168.1.53 for example).
For internet browsing, there are more steps to go through with the VPN, so it is a bit slower.
What to remember:
- Only the VPN is exposed to the internet
- Gladys is not exposed on the internet
- Once on the VPN, no one can intercept your flows to the internet or Gladys (practical for public wifi)
Tutorial to assign a static IP to your Raspberry Pi
To begin with, by default each device at home connected to WiFi or by cable has an IP address. This can vary from time to time and this is a problem when you want to expose a server on the internet.
In our case, we want to expose only a Wireguard VPN server on the internet (and not Gladys directly). You must therefore configure the operator box so that the Raspberry Pi always has the same IP address.
Here is a list of tutorials I found for each operator box. To begin with, to find the administration interface of your box: Savoir gérer sa Box – info.rueducoq.fr
- Freebox Revolution (Freebox OS): Freebox Revolution DHCP assigner une ip fixe - Astuces Pratiques.
- Old Bouygues Box: https://www.01net.com/actualites/configurez-correctement-votre-bbox-552354.html or general procedure: https://forum.bouyguestelecom.fr/questions/1008859-configuration-baux-dhcp-permanents
- Livebox: Comment attribuer une adresse IP statique à un équipement connecté à la Livebox - Aide et Contact Orange
- Old SFR box: Définir une IP statique pour le Raspberry Pi chez SFR
Tutorial to install PiVPN
You can follow the instructions here: https://korben.info/comment-installer-le-vpn-wireguard-facilement.html
Otherwise here are the important extracts.
-
Connect to the RaspberryPi via SSH
-
Install
gitby typing:
sudo apt-get install git -y -
Run the PiVPN installation script:
git clone https://github.com/pivpn/pivpn.git sudo bash pivpn/auto_install/install.sh -
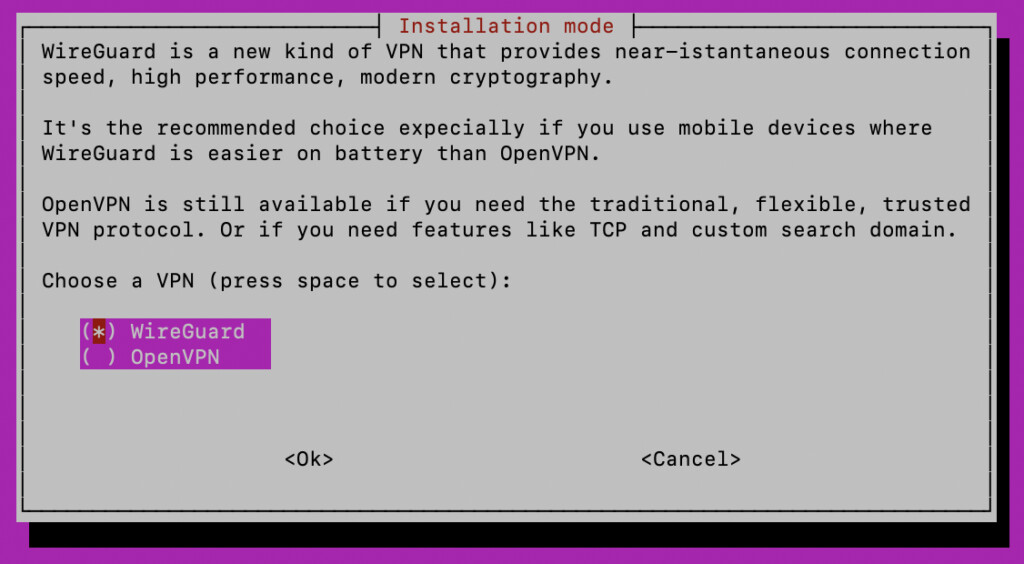
Then follow the installation process
Then choose « Wireguard ».
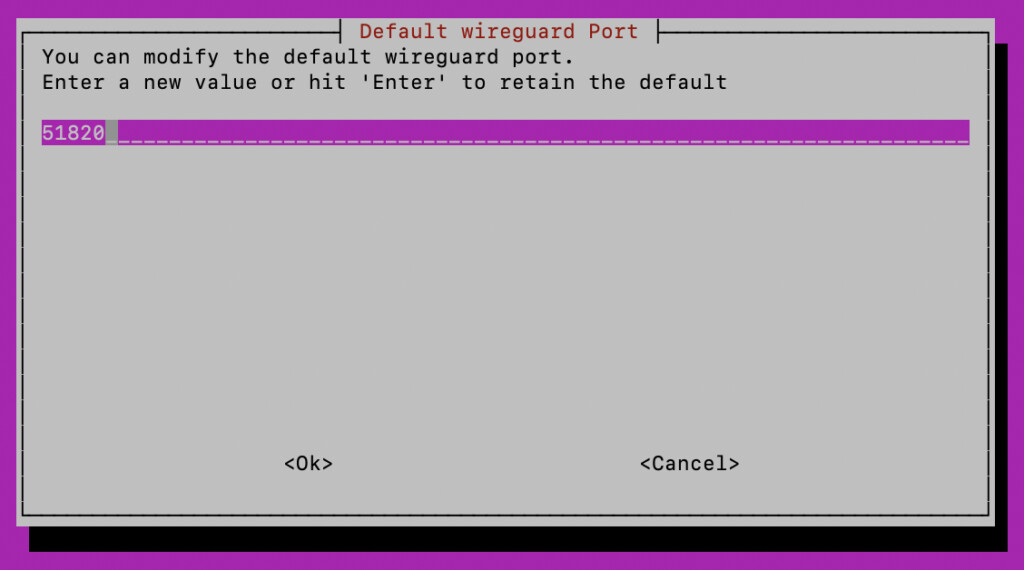
The script will then install all the dependencies necessary for Wireguard. Then it will ask you for a port. Leave the default.
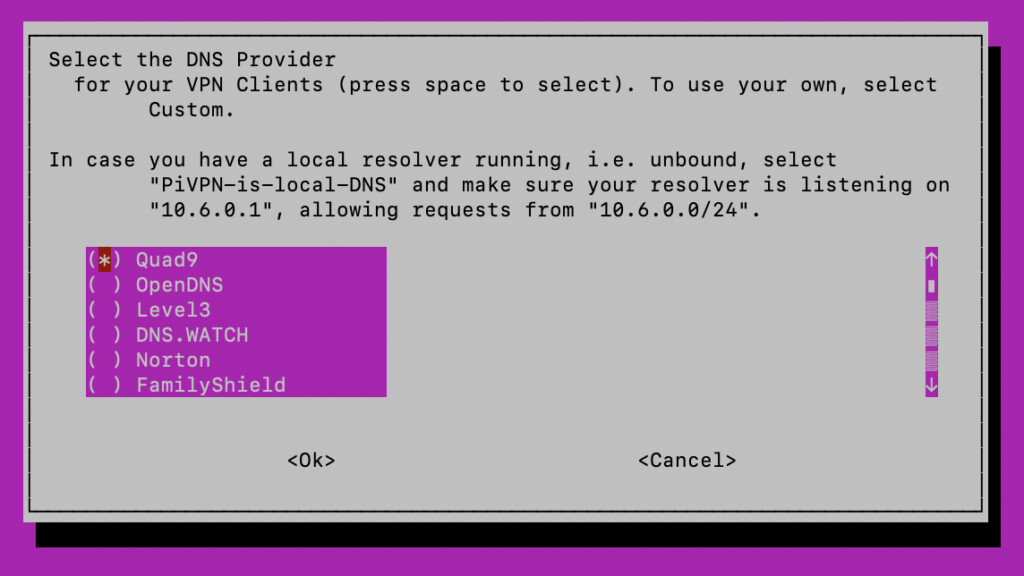
Then choose your preferred DNS provider (Quad9 and OpenDNS are well known for privacy).
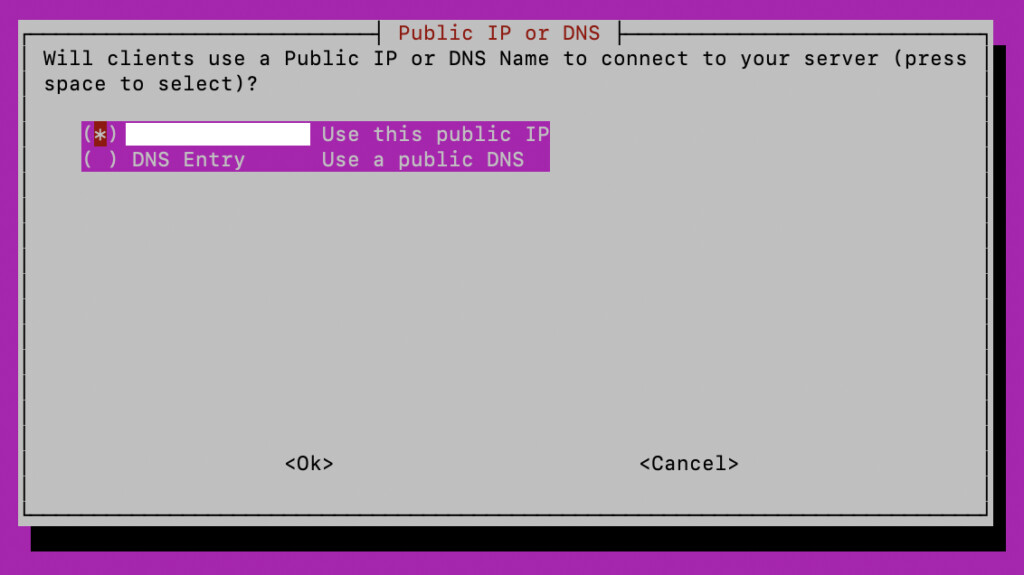
Then leave the default choice for the connection to the server IP by the client:
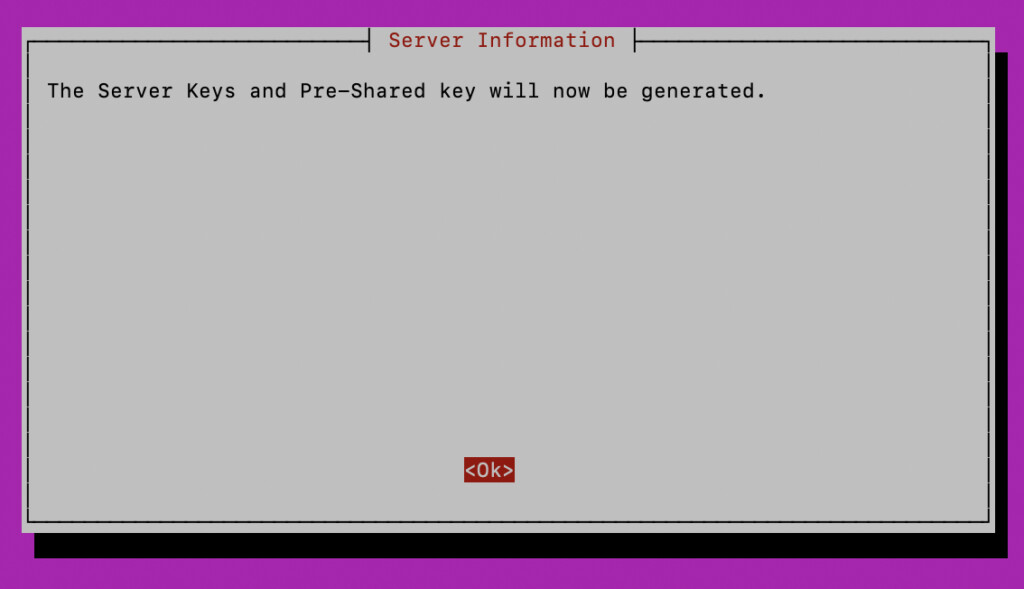
Keys will then be generated, allowing you to connect to the VPN from a computer or phone.
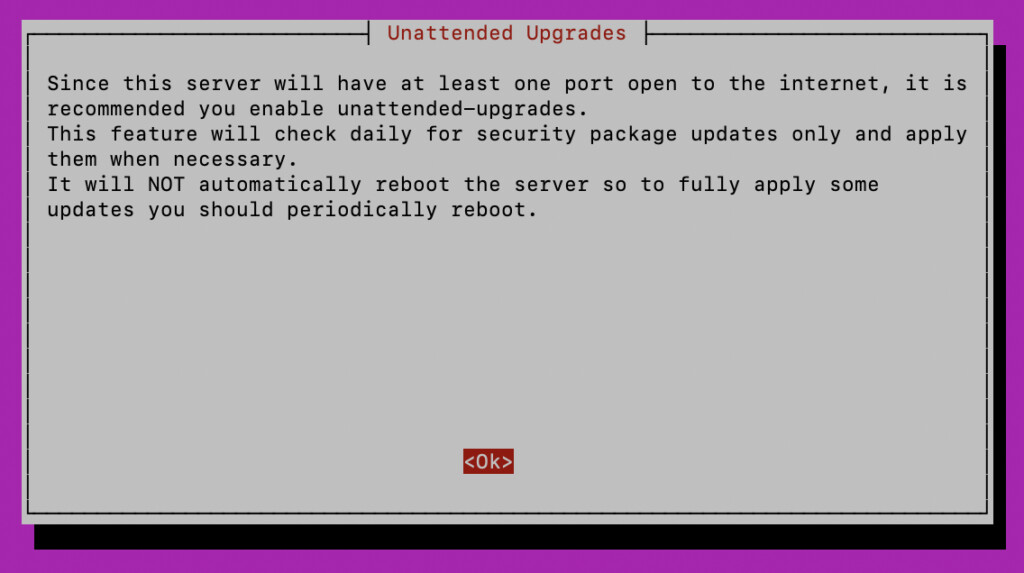
The installer then recommends enabling « unattended » updates for more security and also indicates that you will need to restart.
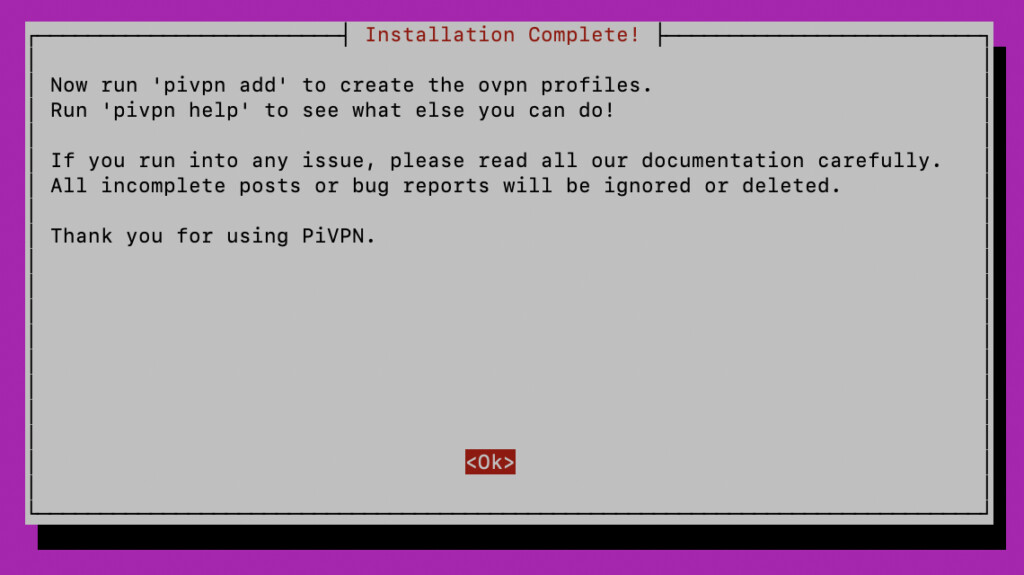
-
Restart to apply the changes.
-
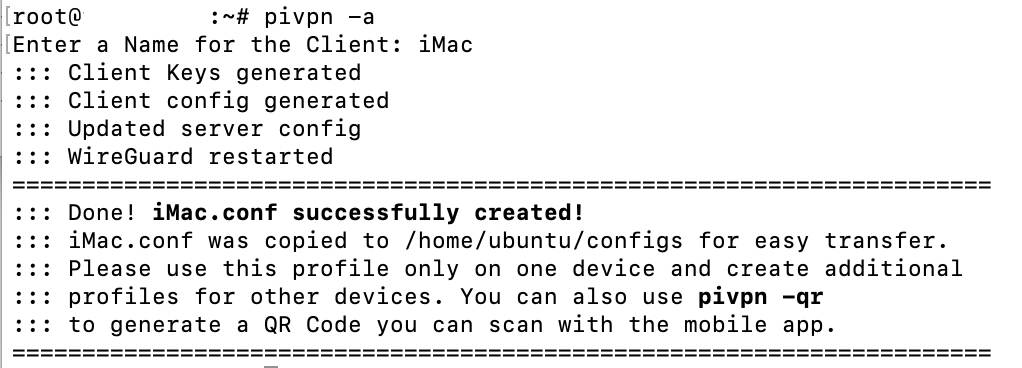
To create a user authorized to connect to the VPN (user « iMac » in the example):
pivpn -a
-
Generate a QR code to « flash » it with the Wireguard mobile application for the user created previously (example in the image « PiMyLifeUp »:
pivpn -qr piMyLifeUp


Create a NAT
You need to configure the operator box to open the Wireguard port on the internet (which will be redirected to Wireguard on the Raspberry Pi) and allow you to connect from anywhere in the world. This is called NAT!
I tried to find you guides for each operator (non-exhaustive list ![]() )
)
General explanations: Nouveaux Casinos en Ligne 2026 - Meilleurs sites fiables
- Freebox Revolution: https://www.cartelectronic.fr/blog/?p=2167
If you get an error that the chosen port is outside the limits, you need to check an option « IP Full Stack » on your free subscriber account: Freebox : l'option "vraie IP fixe" en ZMD est disponible. - Livebox: Livebox 4 : configurer les règles Nat pour pouvoir utiliser un jeu ou une application serveur - Aide et Contact Orange
- Bouygues: https://forum.bouyguestelecom.fr/questions/1049142-ouvrir-ports-nouvelle-interface-bbox
- SFR: https://service.somfy.com/downloads/fr_v4/paramtrage_sfr-neufbox_nb6_.pdf
Conclusion
I hope the tutorial is clear enough, otherwise do not hesitate to ask your questions and I will complete this tutorial.