I think this makes sense if you just want to manage a small peripheral (a 433 MHz module, a push button, an LED, a temperature sensor, etc.), it avoids connecting an Arduino and having another board + power supply + code +…
However, where the Arduino becomes interesting is if there are several peripherals and/or if you want to have remote sensors/actuators with local intelligence/management.
I don’t know enough about Raspberry Pi coding like you @joeypic (I’m sure you’re right and it’s resource-intensive) but I don’t know when it becomes interesting to go through an Arduino.
I think it would be interesting to make this comparison, because indeed the Raspi has digital inputs/outputs available as well as I²C and SPI ports and for basic needs, this might allow Gladys users to do without Arduino. (I see an interest in simplicity because if we provide the wiring to be done and the rest can be installed automatically), users with no knowledge of electronics, not even programming, could simply have push buttons, LEDs, a temperature sensor, 433 MHz sensors for a few euros on the net without going through all-in-one manufacturer solutions but more expensive!
To tell you everything, I’m more of a low-level developer (PIC, STM32, ATMEGA, …) so in C language and I started learning Python a few months ago for work and to better enjoy my RPi…
So, I developed, to test, a Docker container with only Python that reads a OneWire temperature sensor (DS1820) and communicates the data to an Mqtt broker to which an InfluxDB database is subscribed. It works well and it’s not very complicated.
By reading your messages, I thought it looked a bit similar.
I will try to adapt this to Gladys, one of these four, so that way, we can do this comparison that also interests me.
I think it would be interesting for the user to be able to turn to the solution they prefer depending on their skills.
For my part, it is important that the Arduino allows managing 433MHz and also allows exploiting infrared commands, adding a light sensor and motion sensor, etc… I would also like to control an RGB LED strip directly.
Other requirements, perhaps already taken into account: Chinese Arduinos are not called the same and therefore it did not work in v3.
The most advanced ones I was using were seria-isokar and sendradiocode to handle 433MHz with the pulselength, and all other parameters.
Finally, but I imagine it is taken into account in Gladys, its object, a Philips Hue motion sensor via must be taken into account as a 433MHz sensor passing through Arduino, the protocol used must be transparent.
@Reno I agree with you, but the idea is also that Gladys won’t always run on Raspberry. Some people may also want to install Gladys on a platform that won’t have GPIO. That’s why Arduino is convenient
Otherwise, I’ve made quite a bit of progress on the service, new features have been implemented.
I’m still far from being finished, I still have a lot of work and adjustments to make. But if you’re up for testing my code, I’ll be happy to hear your feedback
@camille Was the question for me? Or is there no error? ^^
If it was for me, here’s how I do it:
I clone my repo
Individually, I do a npm install in the back and front folders
I fix potential issues via npm audit and npm audit fix
If you have interaction issues between the back and front, you need to modify the front/config.js file, and replace localhost with the correct IP address,
Once all that is done, I do a npm run db-migrate:dev in the server folder
I do a npm start in the back and front folders
From there, everything should be fine, you have access to the instance, you can create a temporary account, access Gladys, and test everything you want.
If you have any issues, we can contact each other directly via Discord or DM, whatever you prefer, I’m available
I’m going to try to test as well. But I didn’t understand what you put
I’ve already cloned the repo.. then I’ll look into it a bit and I might have some questions.
I started with Java and JavaScript and I did an Arduino with sub-modules:
Servo motor
IR remote control
433MHz, with pulse length protocol management and other
Light sensor
Motion sensor
Management of one or more relays
I’m considering adding a microphone function: command when I clap my hands, Gladys could also do it via its microphone…
I was part of the people who struggled during V3 to install due to bugs:
Chinese Arduino nano clone not recognized
Pin 2 with value 0, with all number correspondences, not simple
Adaptation to manage pulselength.
In short, if it can contribute, I can put it online somewhere (here, GitHub,.. I think you know better than me what is most relevant).
No problem at all, if you want to contact me in PM to look at it in detail, don’t hesitate
With great pleasure, any documentation is good to take in order to satisfy everyone ^^
I’m going to set up a Google Forms soon to find out what everyone expects from this service, so that it guides the next steps of the work towards methods that suit the majority.
I’m posting this message here as it follows the development of the Arduino service, but maybe it deserves its own thread… I don’t know
For all those interested in Arduino implementation, I have created a small survey so that you can send me your feedback on Arduino, what you expect from the service, and, if you have any, the documentation you might find useful.
Thank you very much for taking the time for this small survey, it’s just a matter of 2 questions
I actually wanted to talk about that. A sub-module among IR, RF433, sensor, etc., could be an « Arduino-to-Arduino » sub-service. With Wi-Fi using the ESP8266, Gladys can do it, but if there’s no Wi-Fi, sometimes that’s why 433 is used, to avoid being in Wi-Fi 24/7 or to protect against a Wi-Fi outage.
This sub-service should be able to send the JSON command received via USB to the Arduino connected to Gladys, via 433, as is, to another Arduino, well placed (on the ceiling!) to measure movement, send an IR command to the robot vacuum cleaner on the opposite side of the TV box (in my case).
In short, to be able to dispense with an Arduino connected to Gladys. They should be able to communicate with each other: the USB Arduino then becomes a gateway.
Hello, first of all I’m glad to see that this thread and development are picking up activity again.
I must admit that I’m a bit torn about having something standard, but that’s probably because my Arduino is a bit like the second brain of my setup. To detail a bit what it’s used for:
433MHz transmitter: to control simple outlets
433MHz receiver: temperature/humidity sensor and battery level of the probes.
HC-11 Wireless Serial Port Module (also 433MHz) which I use to control my Roomba and read its data.
Buzzer that I activate for different cases, for example when I receive a certain radio code it is activated, this allows me, among other things, to test the range of my temperature probes (made with DHT11 and ATtiny85).
DHT11 temperature and humidity measurement
An air quality measurement sensor.
When I say it’s a bit of a second brain, it’s because I process/filter all my different information received before possibly transmitting it to Gladys. For example, if a value does not change, I do not transmit it or if it is outside its min/max limits.
Under Gladys, I also created a fake device that allows me to activate or deactivate the sending to Gladys of all that is read on the 433MHz. This allows, for example, to read the codes of the outlet remote controls (via PuTTY). Being deactivated by default, it also allows not to overload Gladys with information that does not belong to my system.
I also manage everything related to my Roomba (vacuum robot) indeed it works by a request system, I can therefore pace the requests.
My Arduino code is therefore far from being standard and basic, which makes it necessarily more difficult to port.
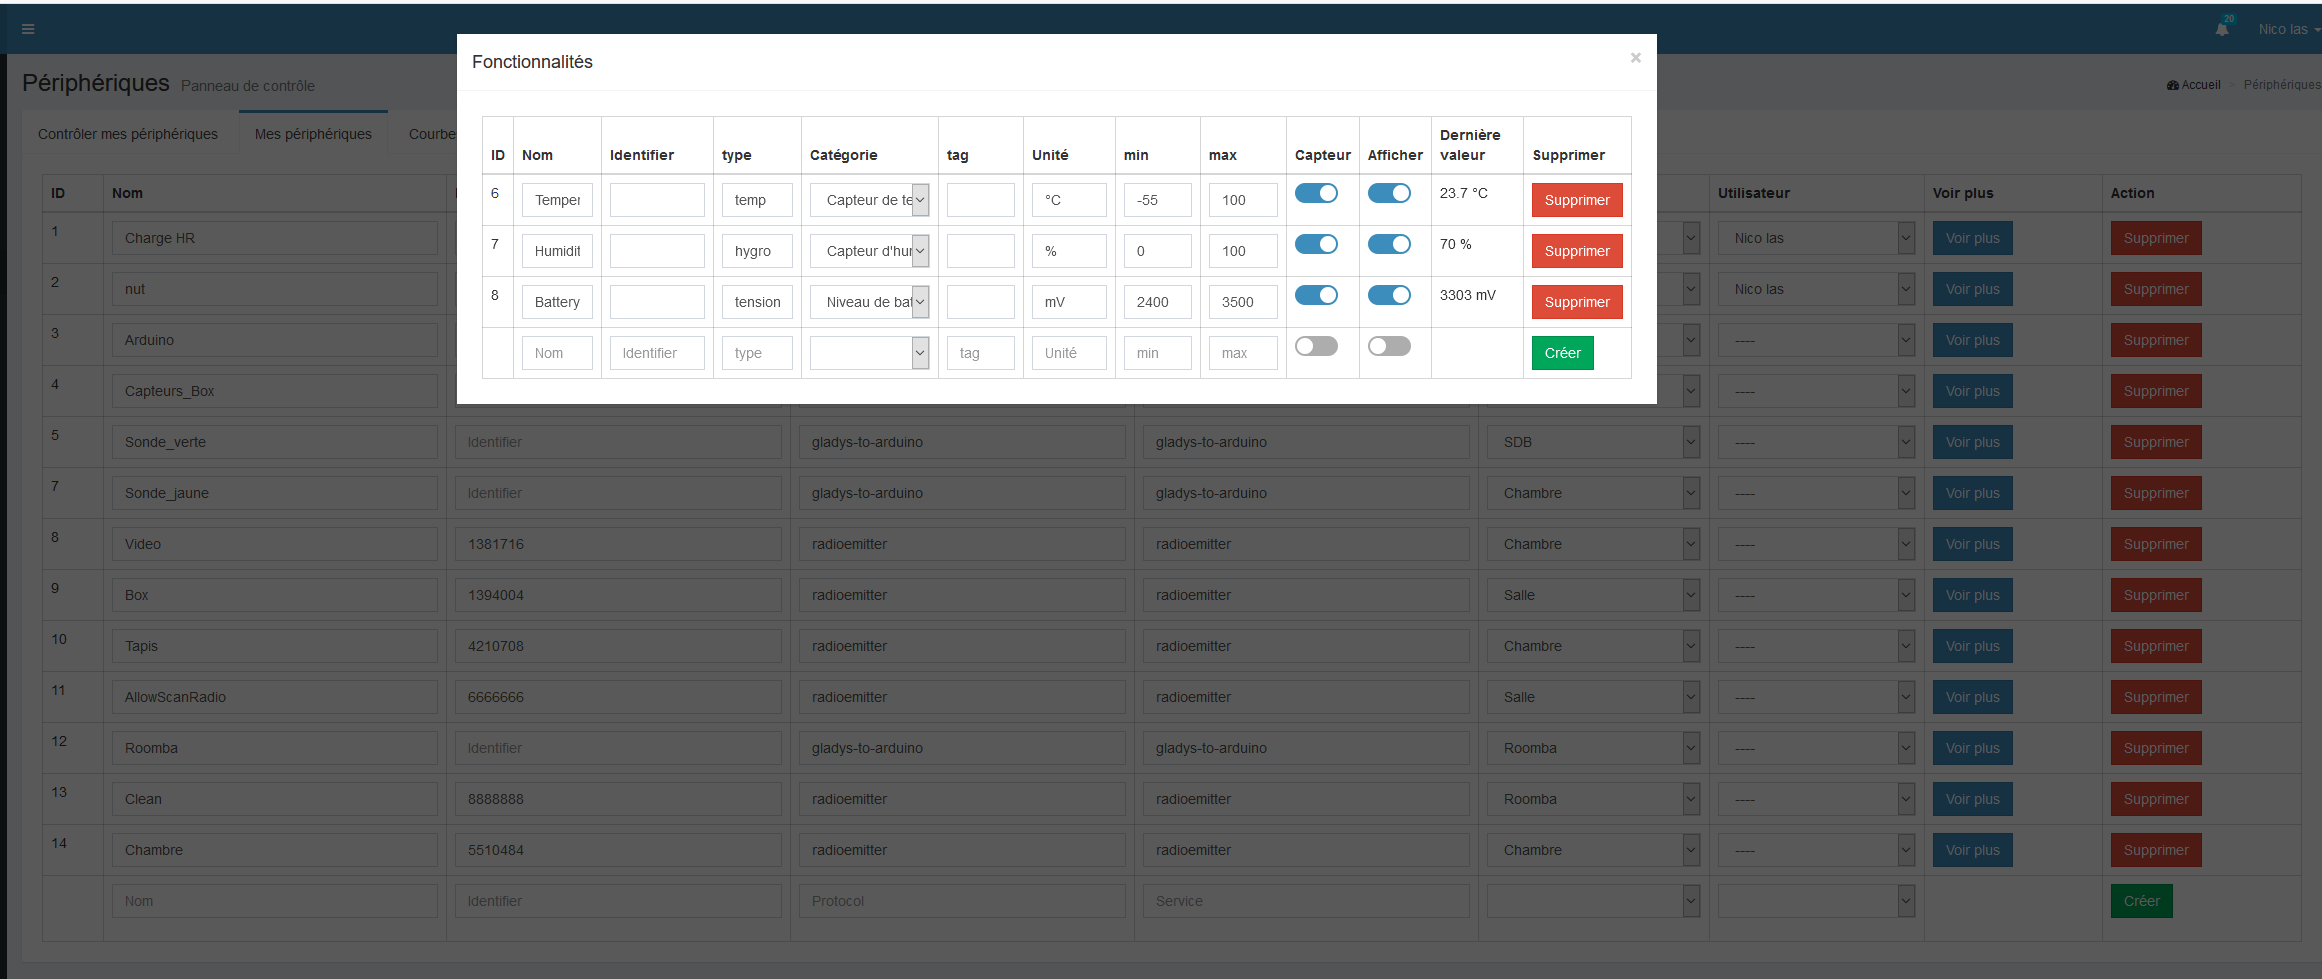
Here’s a bit of what my different devices look like to illustrate my point
@Spouet I understand your reluctance regarding this approach.
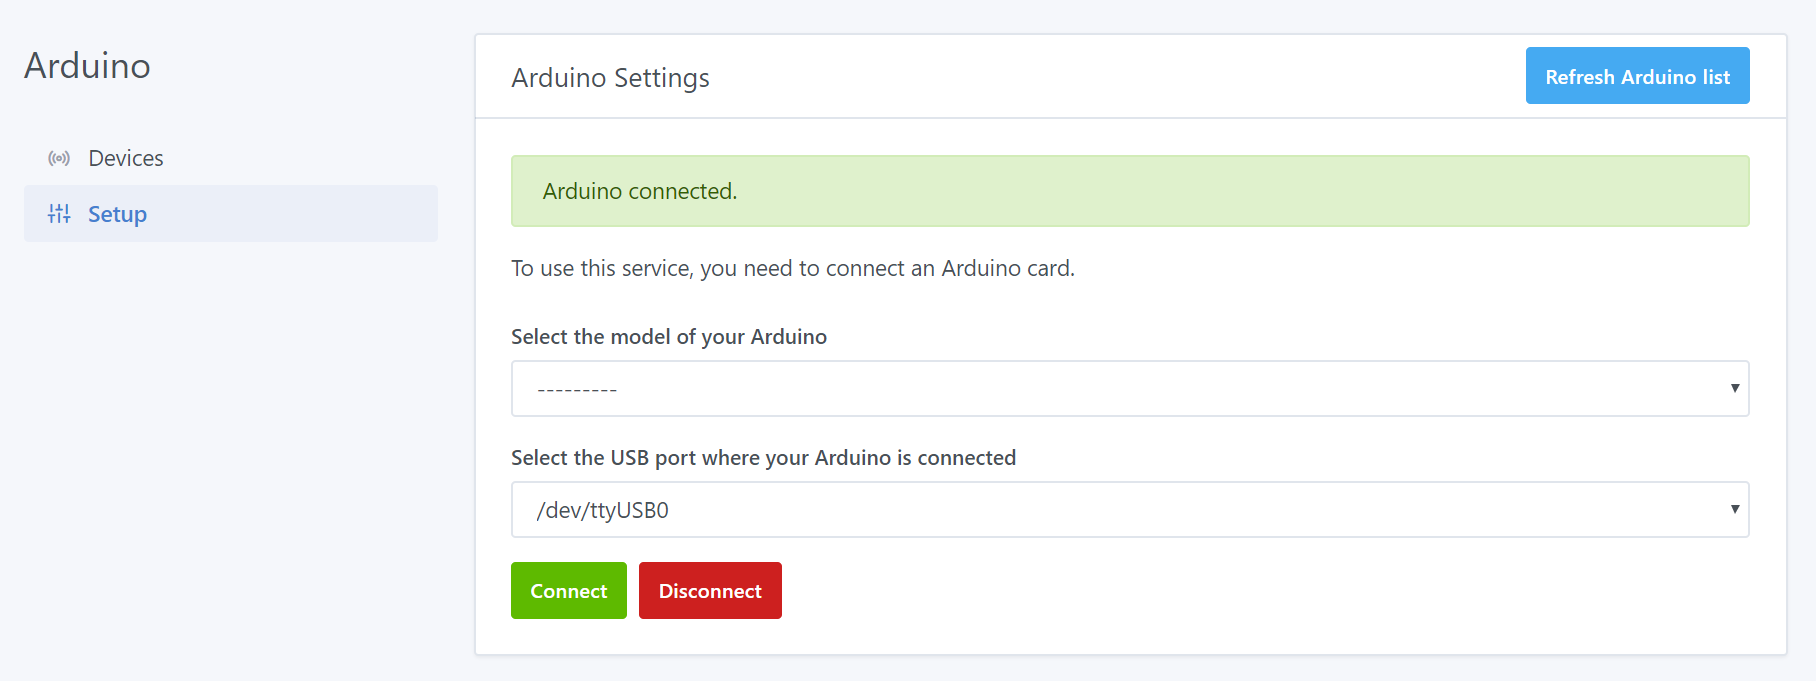
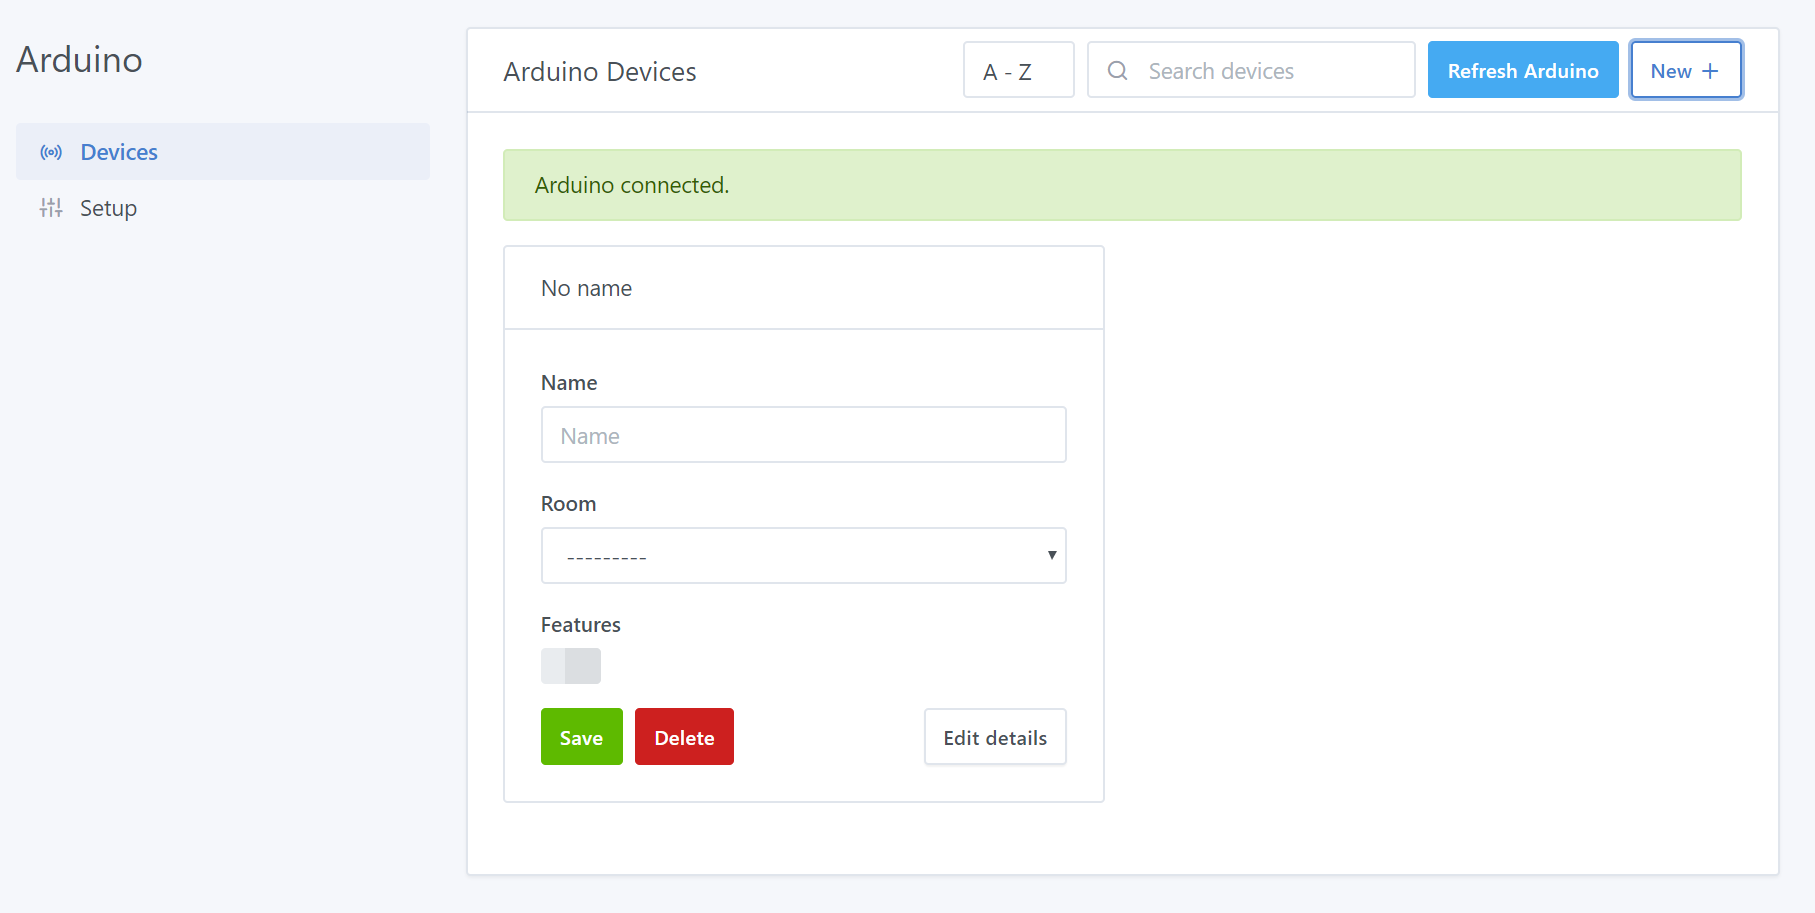
To explain a bit, my philosophy regarding this generic code is that the user should have to get their hands dirty as little as possible to prepare their Arduino installation. They upload the code, connect their modules to the Arduino, connect the Arduino to Gladys, and configure everything in Gladys.
Could you send me the Arduino code you use on Gladys 3? The more documentation I have on what everyone is using, the more the code can meet user expectations.
I also understand your philosophy, which aligns well with Gladys V4. However, in my opinion, putting an Arduino and different components on it is already getting your hands dirty.
I get the impression that for those who really want to keep it as simple as possible, mainly for RF, there is RFlink, which is being implemented.
I’ll send you the code even if it’s a bit rough around the edges ^^ (like any self-respecting tinkerer )
I agree with @Spouet, when you say Arduino, you say DIY and therefore getting your hands dirty. There is a middle ground that will be difficult to find to converge towards the philosophy of Gladys 4.
The main thing is that everyone finds their way, the experts who will use the API directly or MQTT, and the non-experts who will use the Arduino service.
I tend to agree with @billona on the fact that we need to propose something as simple as possible and with the minimum modifications to be made in the Arduino code.
For me, it’s not even a matter of DIY, it’s a matter of simplicity, even for the developer, even for the one who knows how to do it, if it’s easier to set up, it’s better!
This does not prevent experts from modifying the Arduino code and customizing it, those who can do more can do less: we keep an « open USB API » in my opinion
It’s a DIY story in the sense that the user who does Arduino likes it and wants to get their hands dirty
It’s not 100%, but it’s still a significant proportion I think.
And I think that the very simple thing, he won’t use it because it doesn’t interest him.
I’m just trying to observe to avoid wasting time creating a complicated system.
I won’t bother you anymore, my vision might be biased because I probably won’t be a user of the service