A mini-tutorial to install DietPi on a Raspberry Pi, you can find more information on their site > https://dietpi.com
Why this choice? It’s a lighter version than the Raspberry Lite image but more functional (updates and tools  ) and it can also be installed on a mini-PC. The procedure is a bit different but well explained, so no tutorial on this point.
Another advantage is the ability to install a GUI interface if needed or continue with a server only in CLI
https://dietpi.com/docs/install/#how-to-install-dietpi-native-pc
(Note: it is possible to install DietPi on any Debian system by running this command in ssh
sudo bash -c "$(curl -sSfL 'https://raw.githubusercontent.com/MichaIng/DietPi/master/.build/images/dietpi-installer')" be careful to make backups of existing data or data to preserve as it lightens the target distribution by removing many unnecessary packages)
First, we will download the image by going to the section
We choose

then we download the image
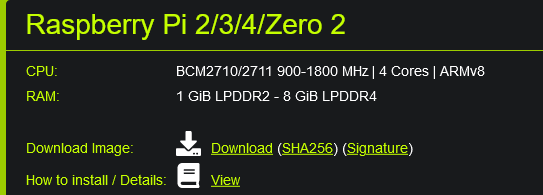
we unzip the archive DietPi_RPi-ARMv8-Bookworm.img.xz to DietPi_RPi-ARMv8-Bookworm.img
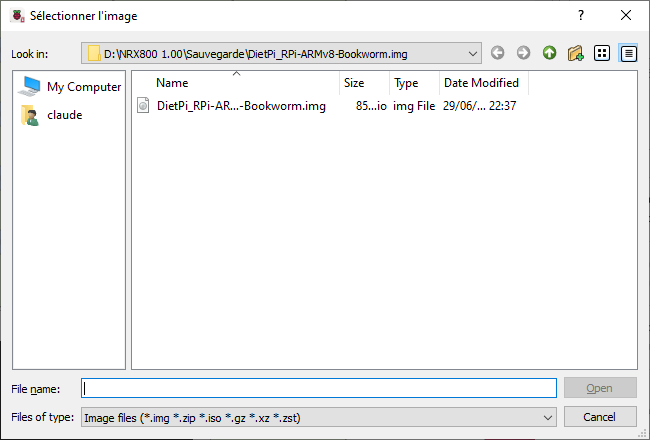
We launch Raspberry Pi Imager, for the image choice we select « use custom »

and we select the image
then the storage
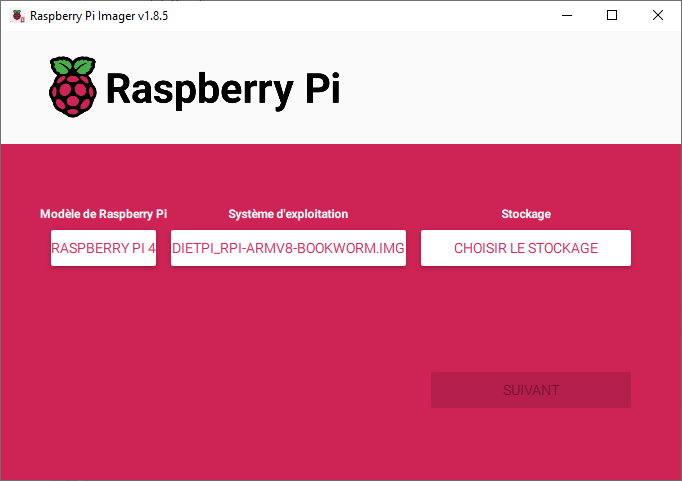
and we launch the installation
we enter the root login and password dietpi (> How to install DietPi - DietPi.com Docs)
and we find ourselves at the first contact of the interface… Nice, isn’t it?
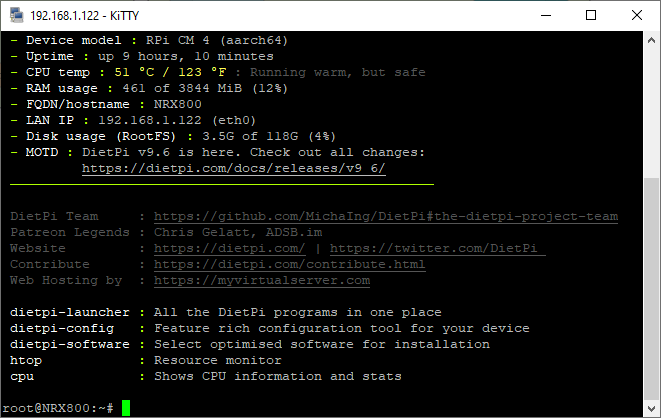
By launching dietpi-launcher, we access all the tools offered in the distribution
we start by doing an update
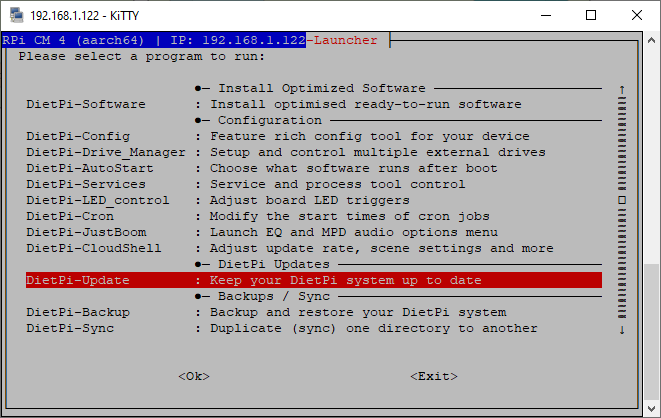
We go to Dietpi-Software
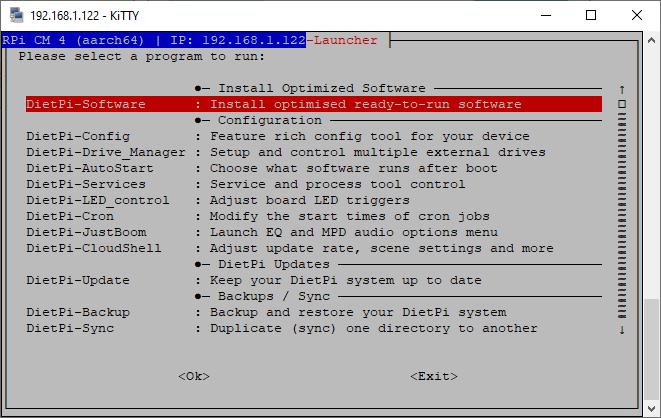
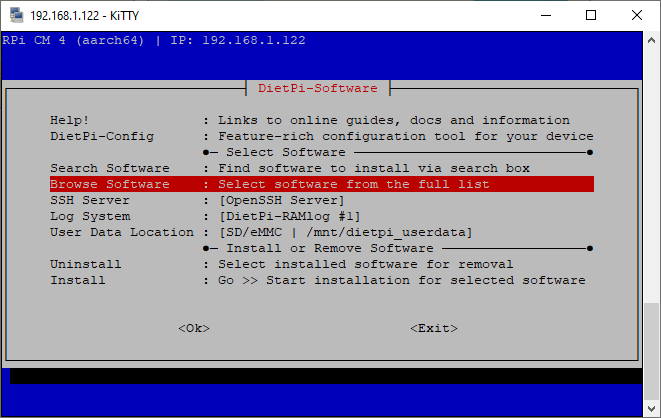
At this stage, we can be content with DietPi-Dashboard as we will find the installation of softwares in a more user-friendly way but we can install the minimum of software (for the 63 LinuxDash I chose Lighttpd) including Node-red, I2C and Python (to control the Raspberry Pi’s IO
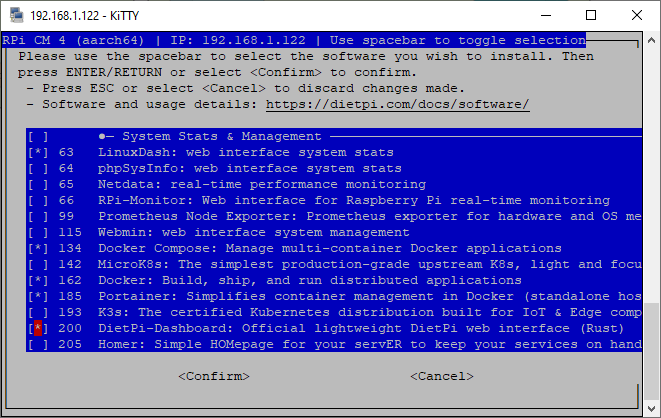
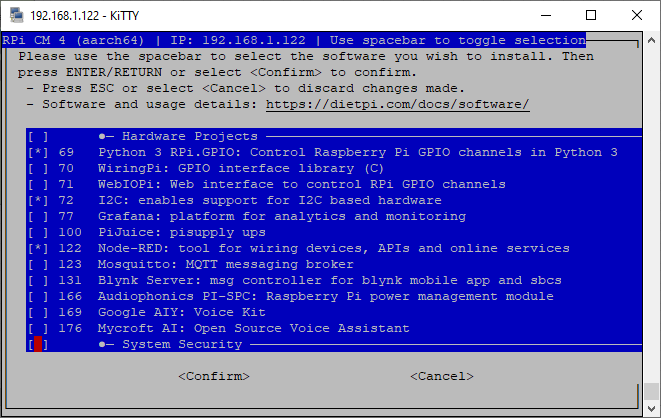
Confirm the software choices to install
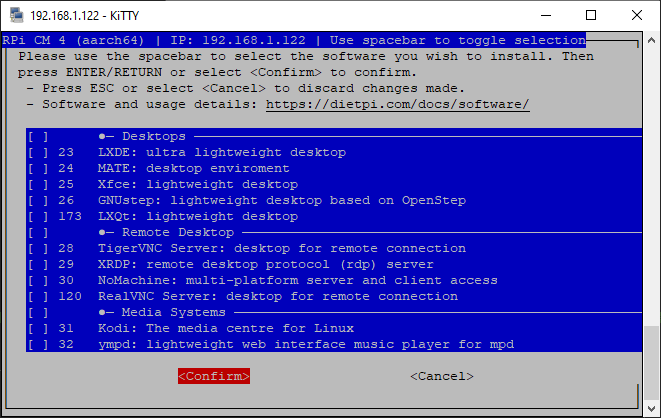
The software to install
[*] 72 I2C: enables support for I2C based hardware
[] 200 DietPi-Dashboard: Official lightweight DietPi web interface (Rust)
or
[] 63 LinuxDash: web interface system stats
[] 81 LLSP: Lighttpd + SQLite + PHP
[] 122 Nodee-RED: tool for wiring devices, APIs and online services
[/em] 122 Docker
I prefer to use this rather than the Gladys integration because the flows are savable in a common mount point for the installed software, which is easily backupable
[*] 73 Fail2Ban: prevents brute-force attacks with IP ban
- Fail2Ban helps limit intrusion attempts; you can modify the SSH parameters by editing the file with the following command:
sudo nano /etc/fail2ban/jail.conf
If you want to use a file manager in SSH
[*] 3 MC: Midnight Commander - a powerful file manager
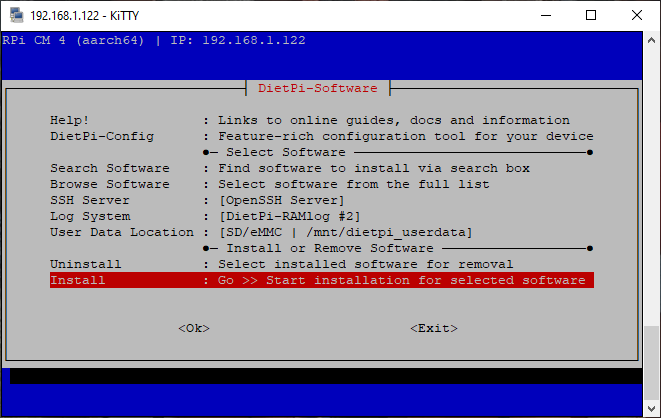
And install them!
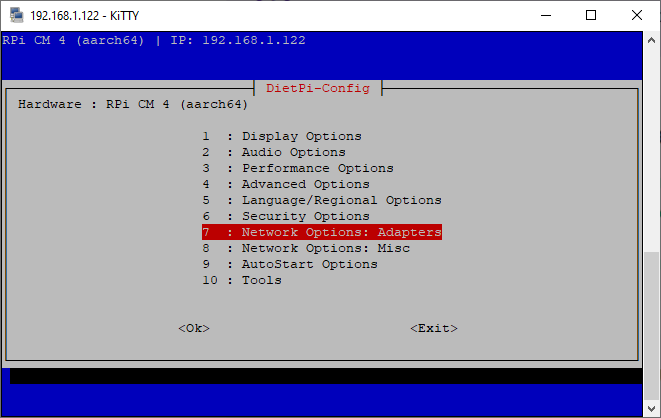
To modify the network card address, simply run dietpi-config
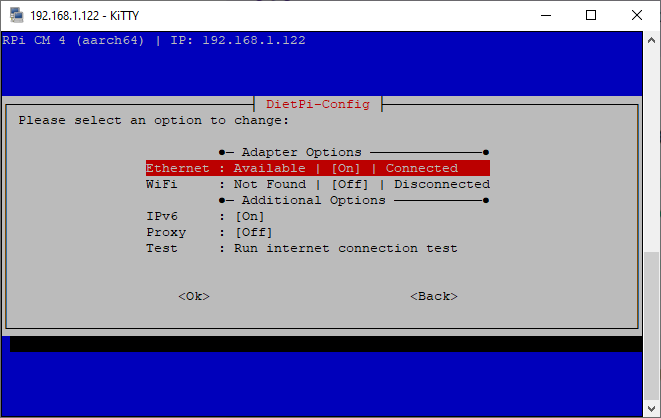
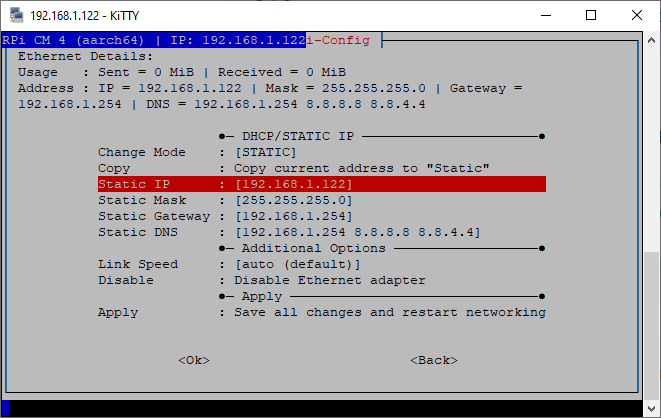
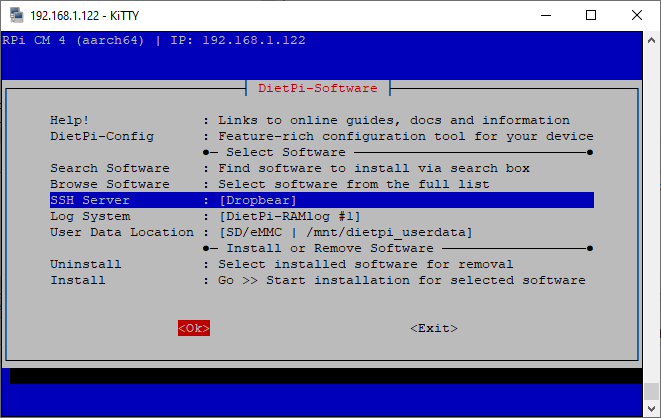
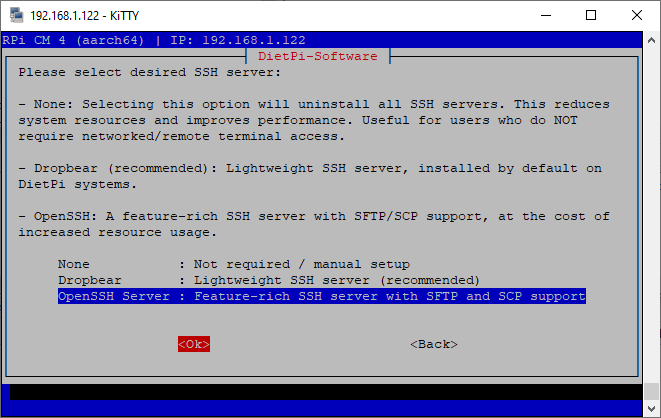
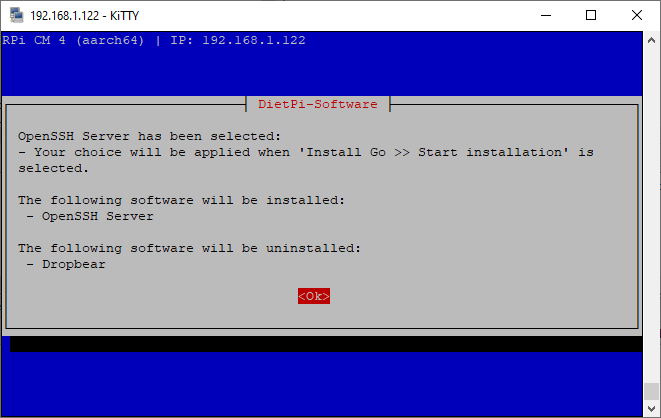
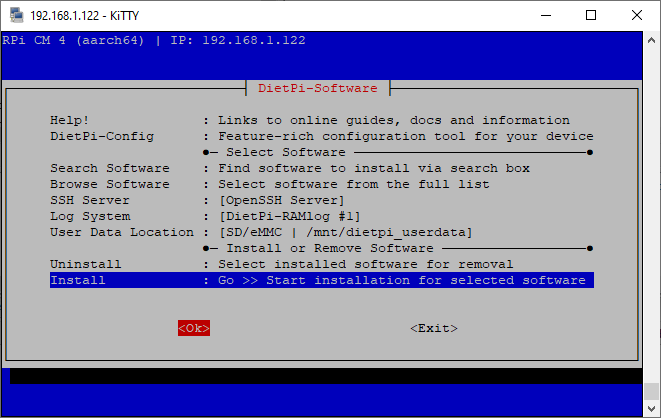
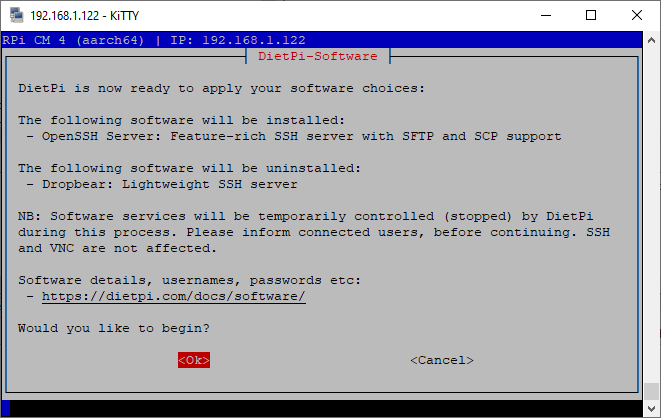
To modify the SSH server (Dropbear by default) to OpenSSH (it integrates an SFTP server, allowing secure connection via Filezilla to the content of the emmc drive of the NRX800!) simply perform the following actions:
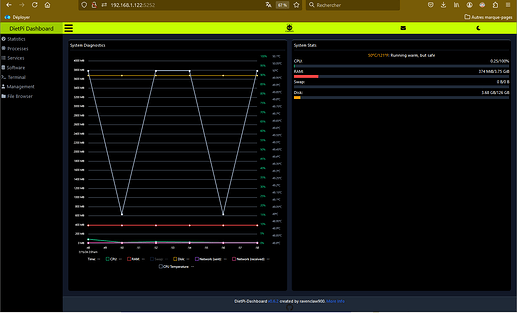
The Dietpi Dashboard is pretty well done!
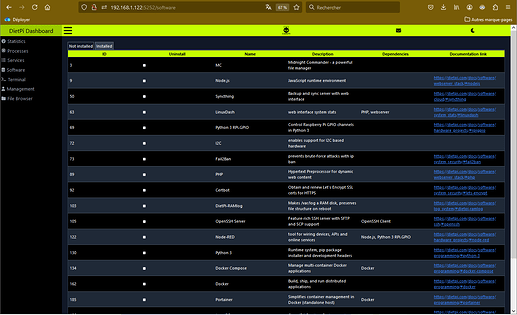
The doc is there
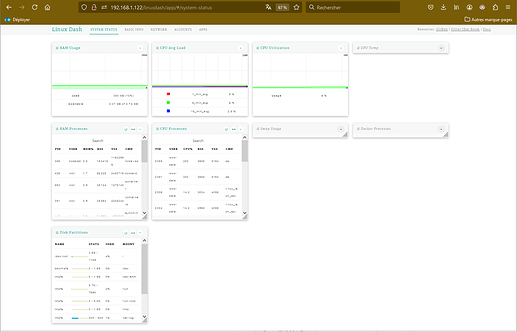
The Linux dash of Dietpi
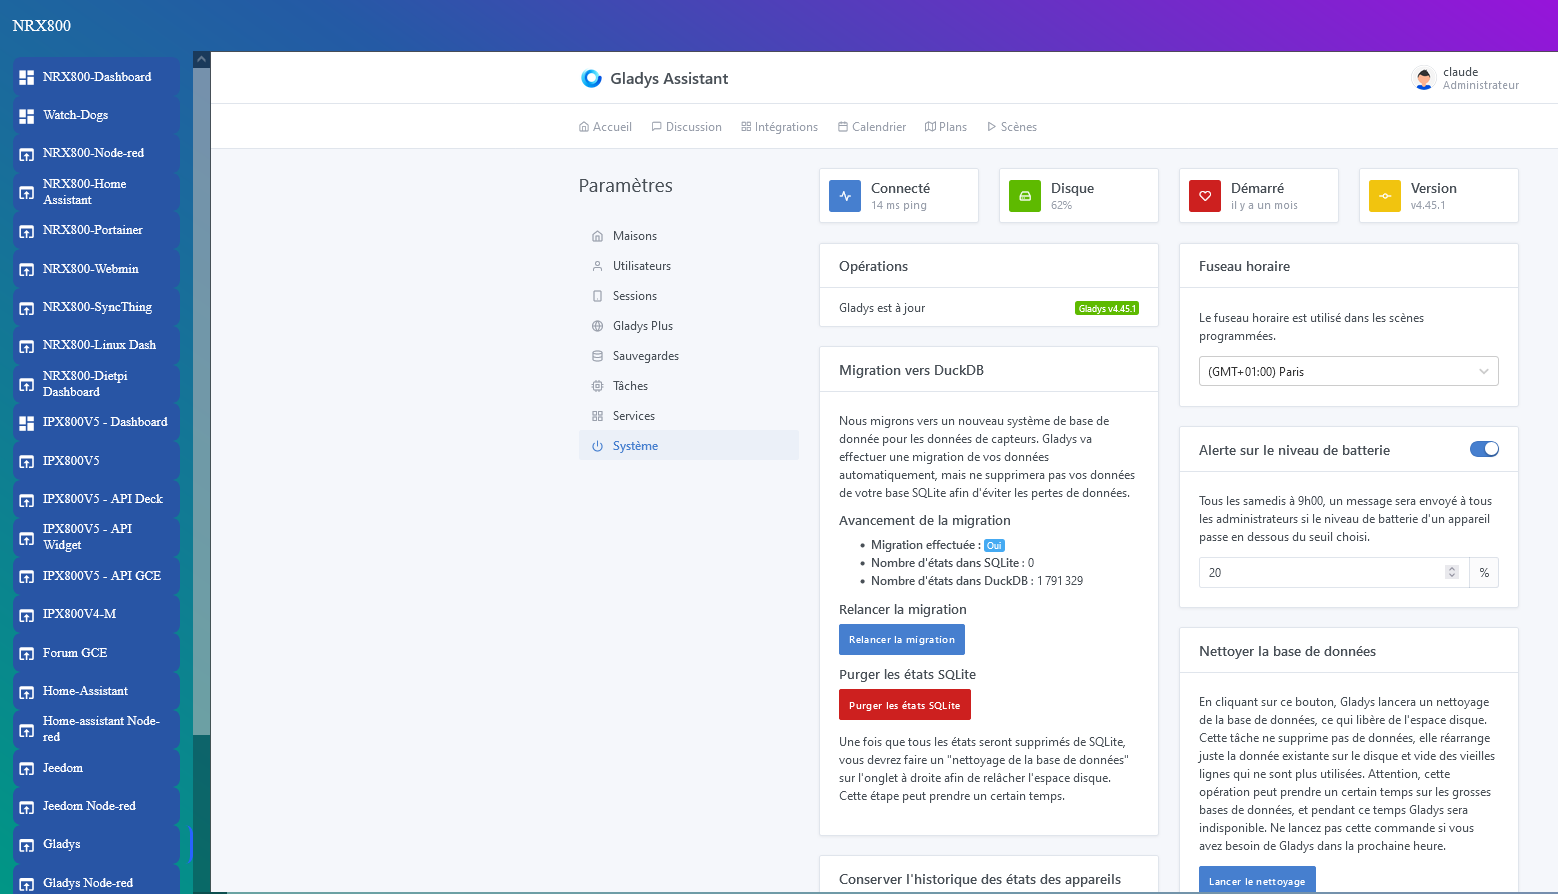
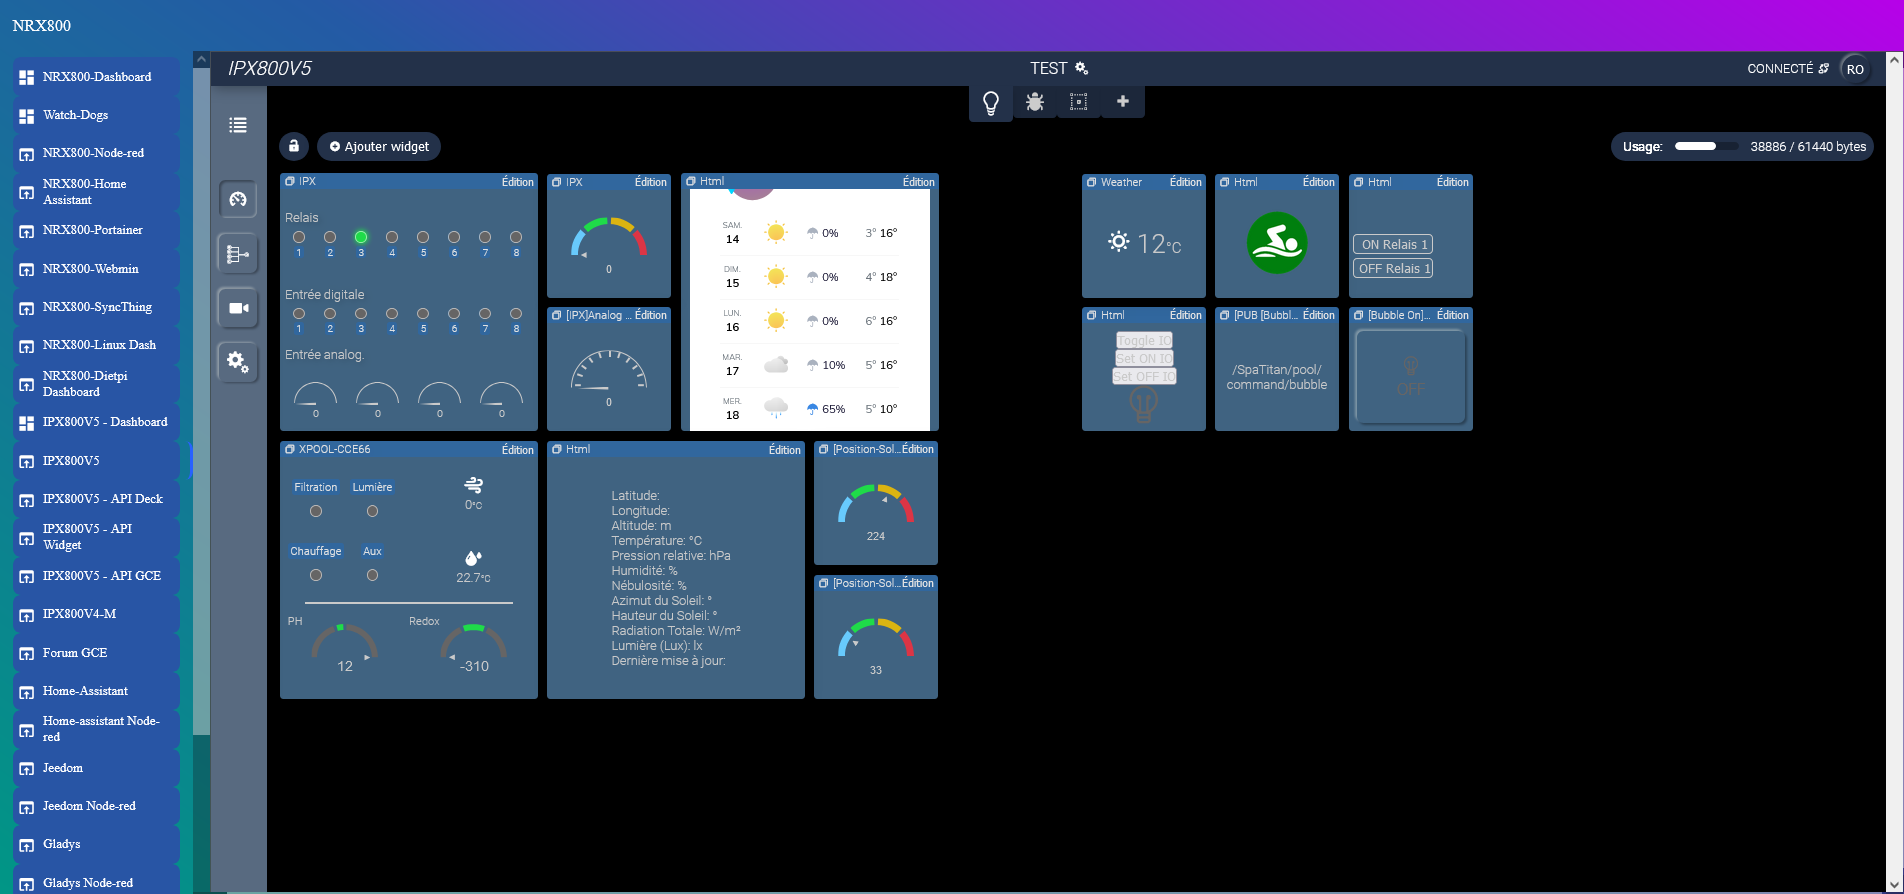
An HTML dashboard entirely created under Node-red with the dashboard node to control my home automation systems and have all my links in one place, here Gladys
An HTML dashboard entirely created under Node-red with the ui_builder node
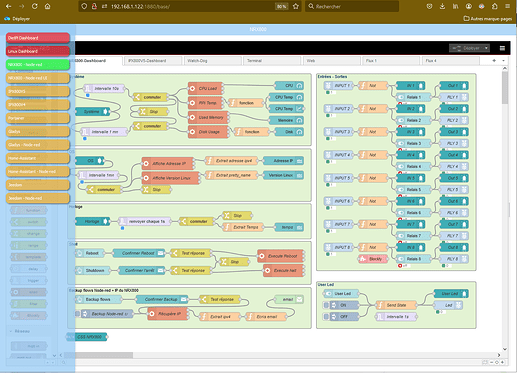
Control the relays of my IPX800V5 via the APIs with a real-time update of the relay status (well, every 500ms here, but it could be less  )
)
In short, a great distribution to have the same system on Raspberry Pi and mini-PC and even in VM (vmware, proxmox, etc.)
To install Gladys, just follow the usual tutorials
@pierre-gilles It’s up to you to see if this wouldn’t be the ideal system as it is multi-platform with monthly updates to host Gladys on this mini-pc offer you propose as a kit now (great initiative)…Maybe contact them to integrate Gladys in the home automation part (they offer OpenHab, Domoticz, HA)
Addition of 17/09/2024
To install Gladys on the DietPi distribution (which is currently a Debian Bookworm) simply copy the content in SSH into a file
edited with nano called « create_and_run_gladys_watchtower.bat » then execute it, it is possible to add the installation of fail2ban and node-red but it is not useful since they are installable with dietpi-software
create_and_run_gladys_watchtower.bat
@echo off
echo Creating the install_gladys_watchtower.sh script…
(
echo # Start of the bash part code
echo #!/bin/bash
echo.
echo # Check if Docker is installed
echo if ! [ -x « $(command -v docker) » ]; then
echo ^ echo « Docker is not installed. Installing Docker… »
echo ^ curl -fsSL https://get.docker.com -o get-docker.sh
echo ^ sh get-docker.sh
echo ^ rm get-docker.sh
echo fi
echo.
echo # Create the docker group if it doesn’t exist
echo if ! grep -q « ^docker: » /etc/group; then
echo ^ sudo groupadd docker
echo fi
echo.
echo # Add the ‹ user › user to the docker group
echo sudo usermod -aG docker user
echo.
echo # Launch the Docker container for Gladys Assistant
echo docker run -d ^
–log-driver json-file ^
–log-opt max-size=10m ^
–cgroupns=host ^
–restart=always ^
–privileged ^
–network=host ^
–name gladys ^
-e NODE_ENV=production ^
-e SERVER_PORT=80 ^
-e TZ=Europe/Paris ^
-e SQLITE_FILE_PATH=/var/lib/gladysassistant/gladys-production.db ^
-v /var/run/docker.sock:/var/run/docker.sock ^
-v /var/lib/gladysassistant:/var/lib/gladysassistant ^
-v /dev:/dev ^
-v /run/udev:/run/udev:ro ^
gladysassistant/gladys:v4
echo.
echo # Launch the Docker container for Watchtower
echo docker run -d ^
–name watchtower ^
–restart=always ^
-v /var/run/docker.sock:/var/run/docker.sock ^
containrrr/watchtower ^
–cleanup --include-restarting
echo # End of the bash part code
) > install_gladys_watchtower.sh
echo Granting execution rights to the script…
bash -c « chmod +x install_gladys_watchtower.sh »
echo Running the install_gladys_watchtower.sh script…
bash -c « ./install_gladys_watchtower.sh »
pause
To install fail2ban, simply add the following code to the previous script before the line echo # End of the bash part code
fail2ban installation
Check if Fail2ban is already installed
if ! [ -x « $(command -v fail2ban-server) » ]; then
echo « Fail2ban is not installed. Installing Fail2ban… »
# Update packages
sudo apt update

# Install Fail2ban
sudo apt install -y fail2ban

echo "Fail2ban installation complete."
else
echo « Fail2ban is already installed. »
fi
Create the local configuration file if necessary
if [ ! -f /etc/fail2ban/jail.local ]; then
echo « Creating the /etc/fail2ban/jail.local configuration file… »
sudo tee /etc/fail2ban/jail.local > /dev/null <<EOL
[DEFAULT]
Ban for 10 minutes (600 seconds)
bantime = 600
Time before allowing a new attempt after a failed connection
findtime = 600
Number of attempts before banning
maxretry = 5
[sshd]
enabled = true
EOL
echo "Default configuration created."
fi
Restart Fail2ban to apply the changes
echo « Restarting the Fail2ban service… »
sudo systemctl restart fail2ban
Enable Fail2ban to start on boot
echo « Enabling the Fail2ban service to start on boot… »
sudo systemctl enable fail2ban
echo « Fail2ban has been installed and configured successfully. »
To install node-red, simply add the following code to the previous script before the line echo # End of the bash part code
node-red installation
echo # Launch the node-red container
docker run -d
–log-opt max-size=10m
–restart=always
–privileged
-u root
–network=host
–name node_red
-v /var/lib/node-red:/data
nodered/node-red
