I’ll start with the most important: I am a real beginner and a pure self-taught computer enthusiast, but with perseverance I am making progress.
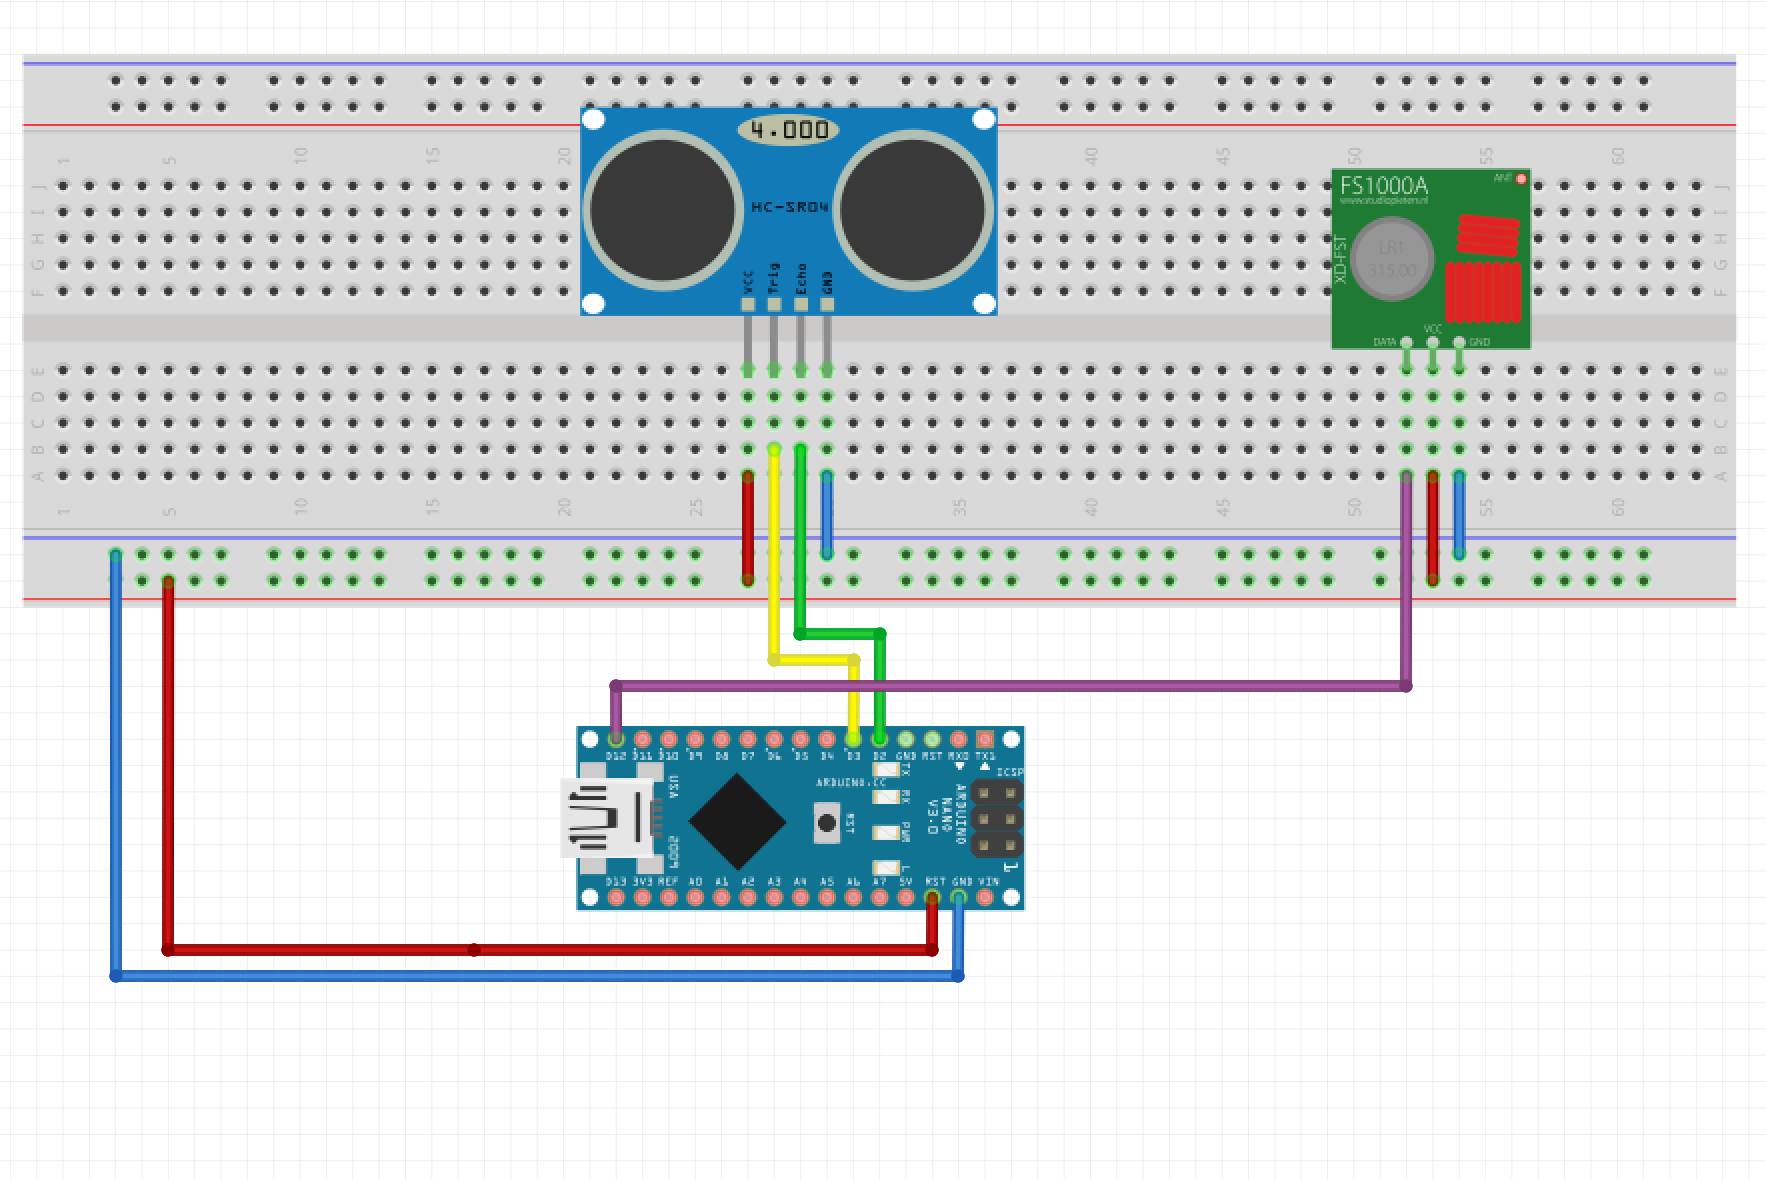
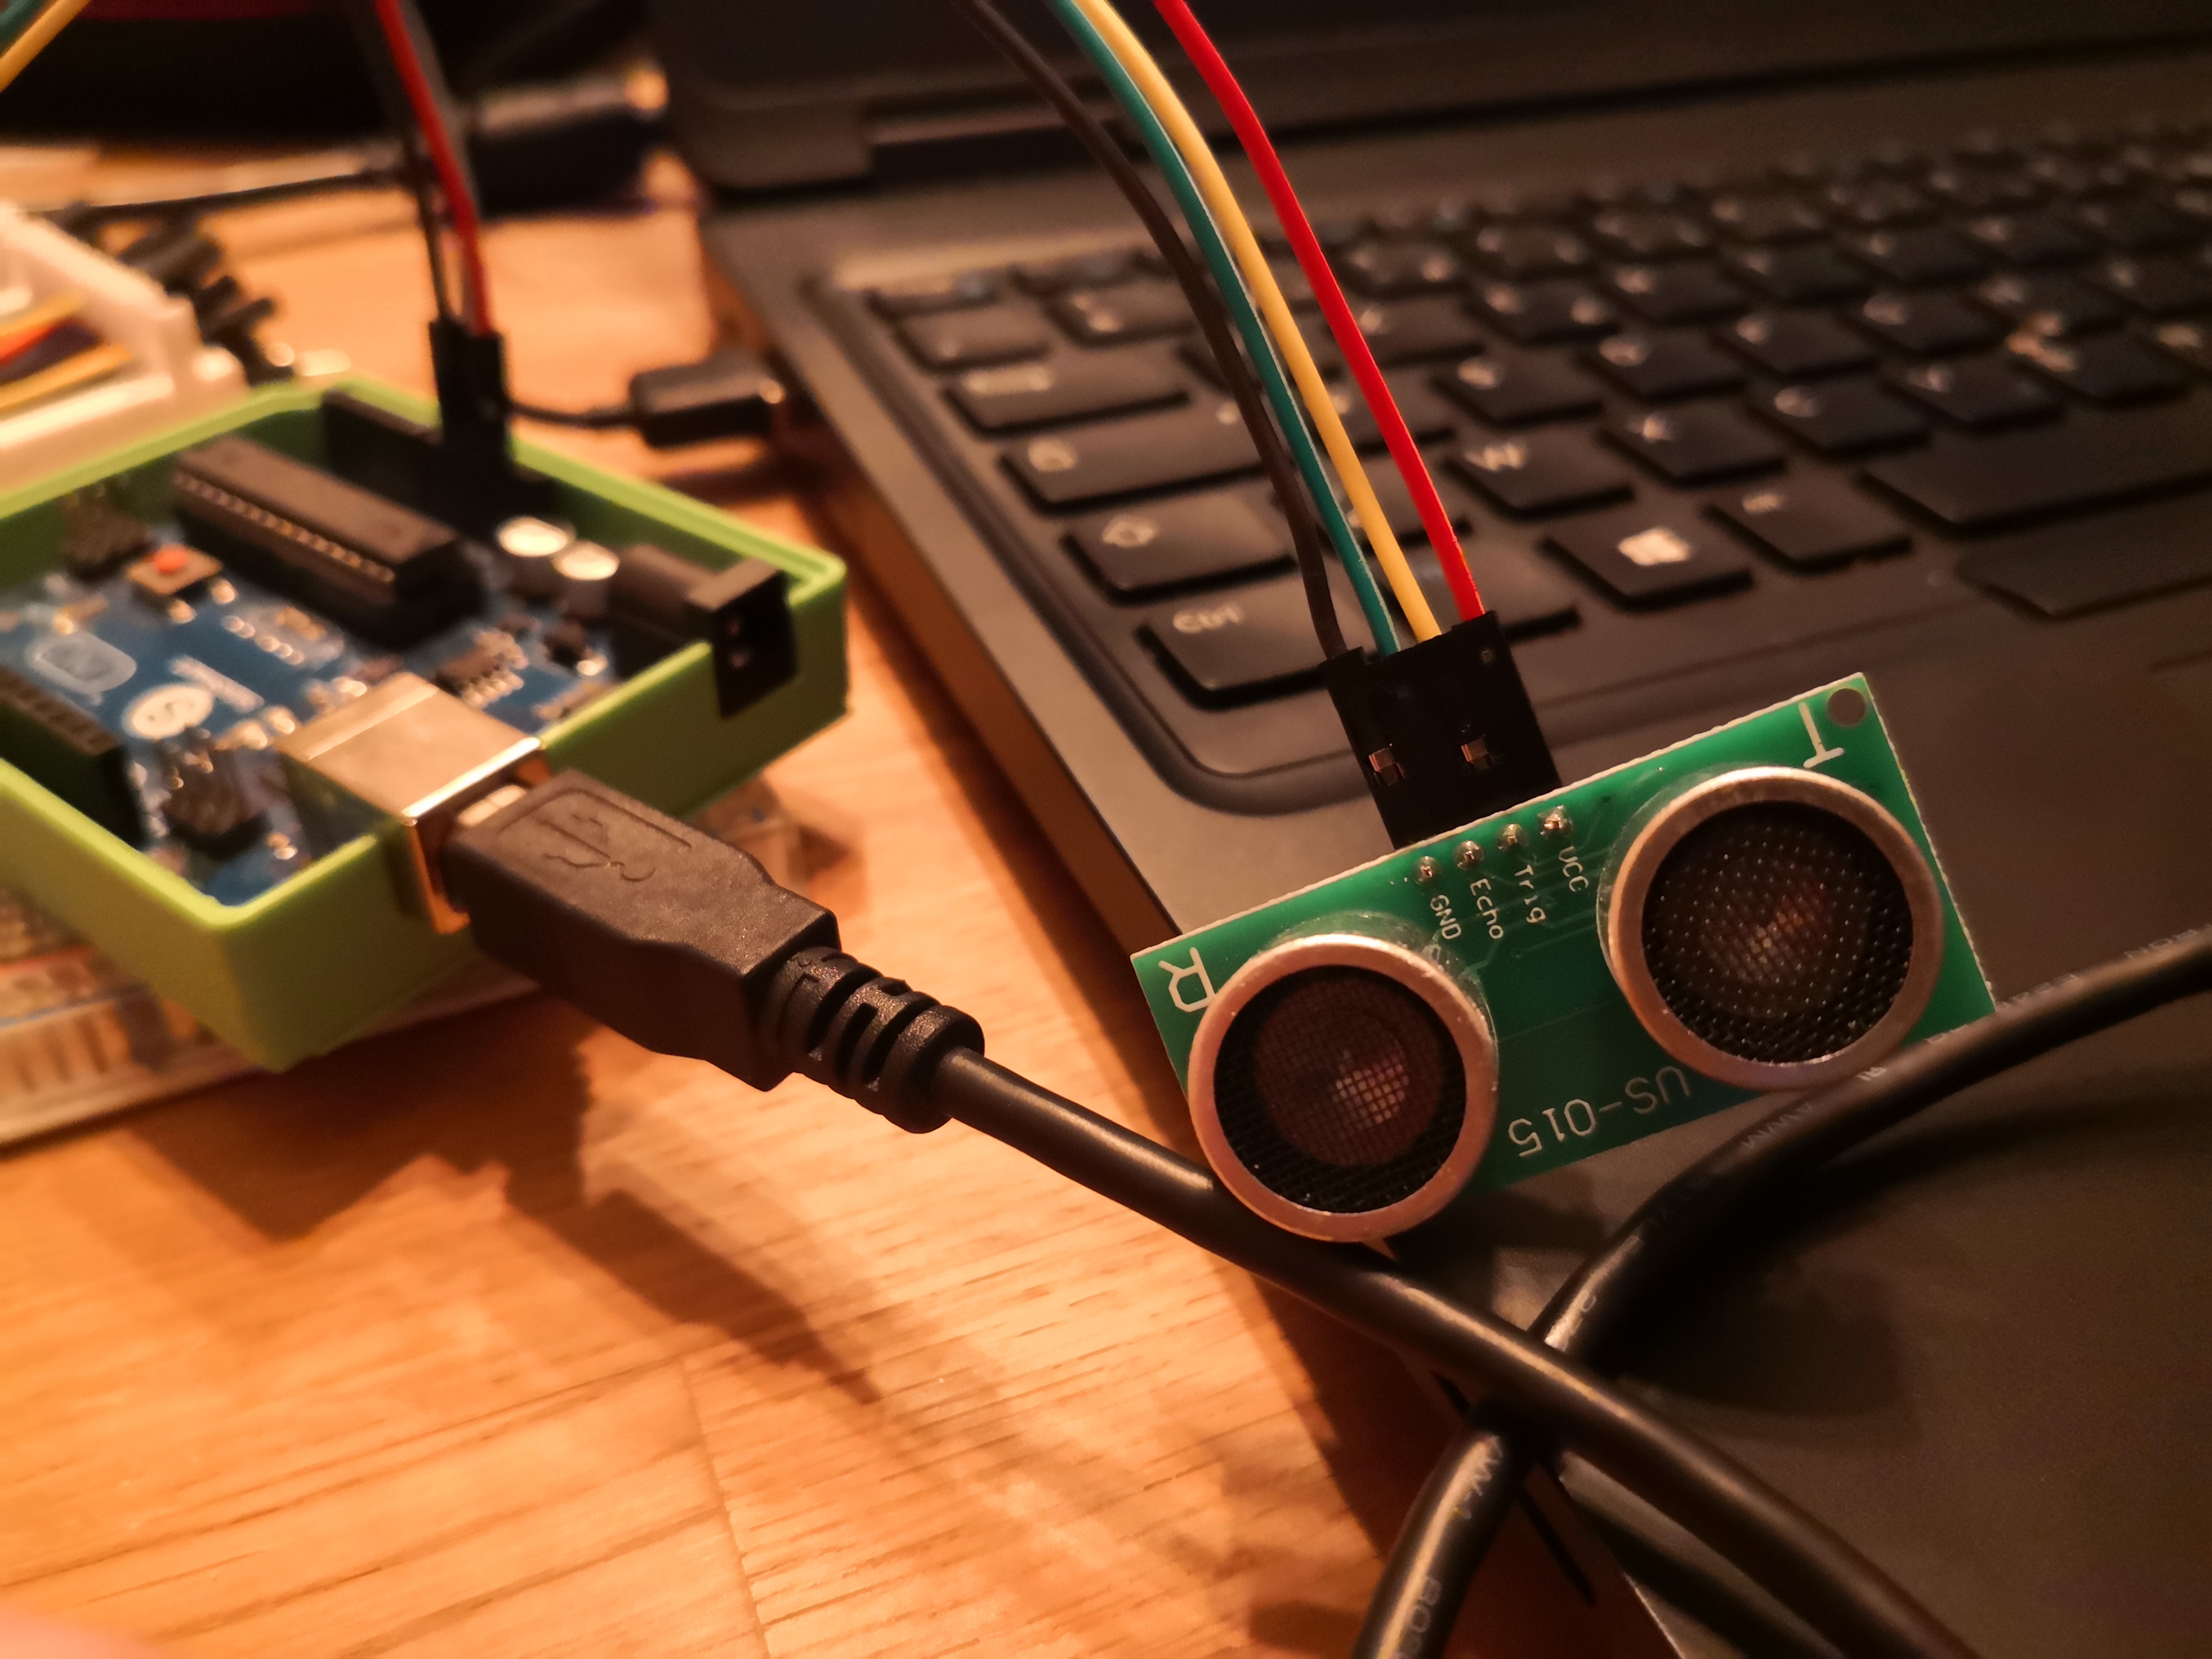
I managed to create a code using an Arduino Nano + HRC-04 ultrasonic sensor and a 433Mhz transmitter to retrieve the distance from the top of my tank to the bottom.
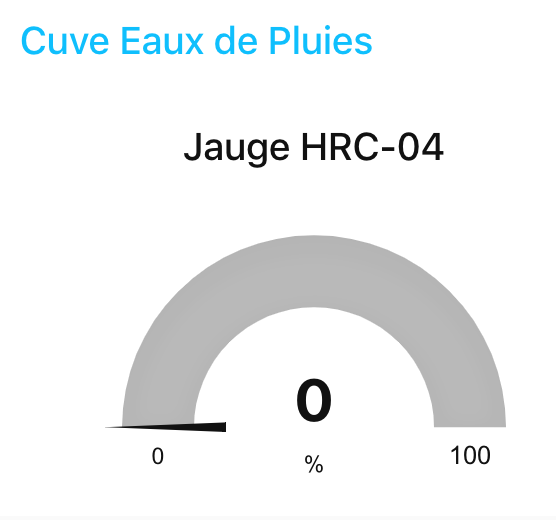
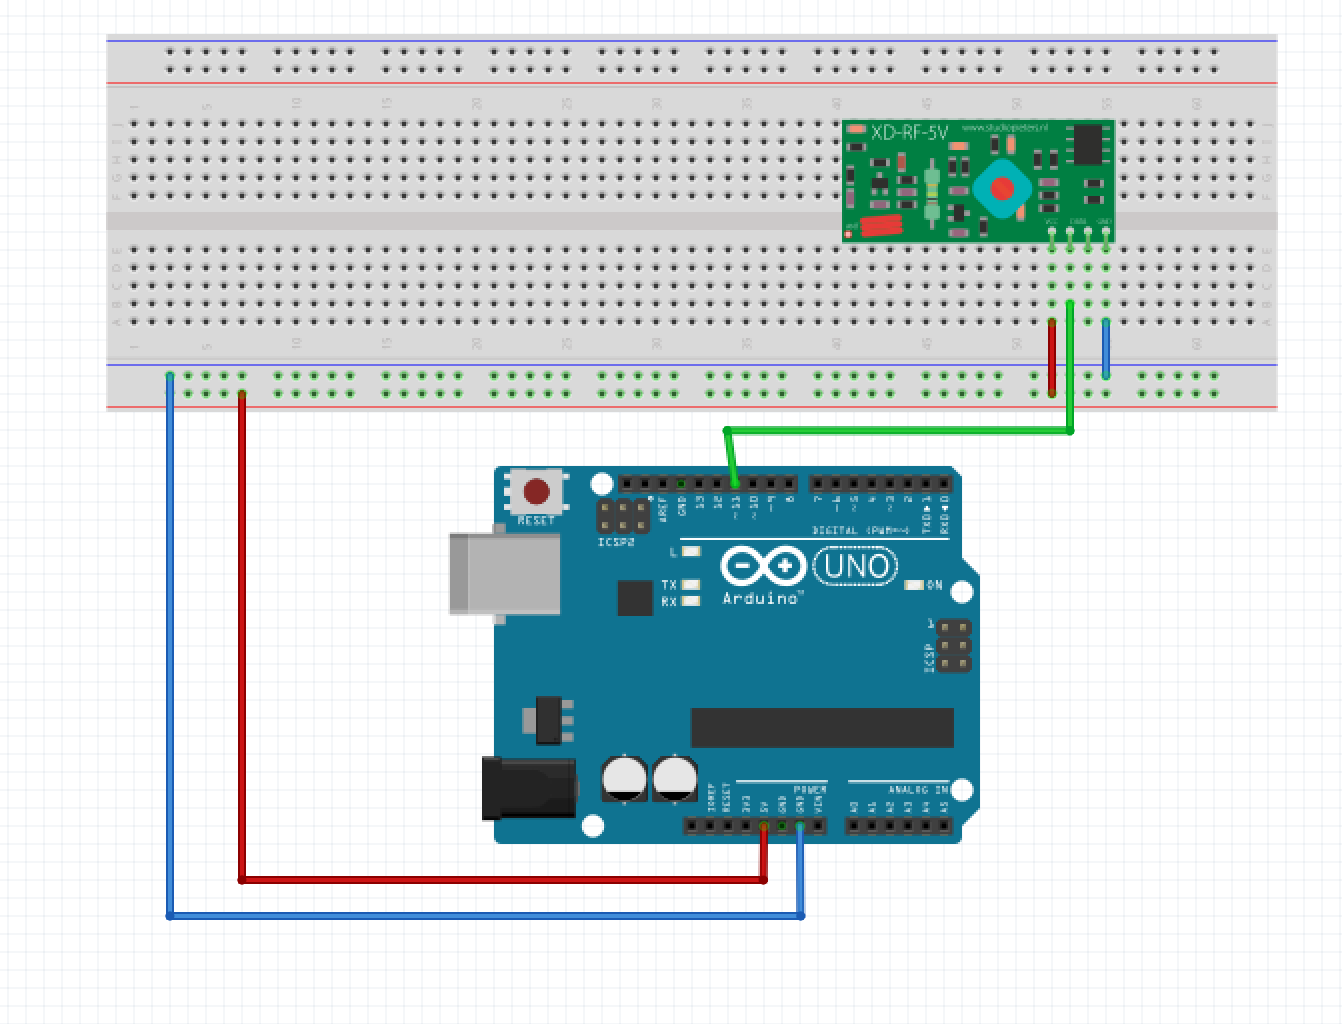
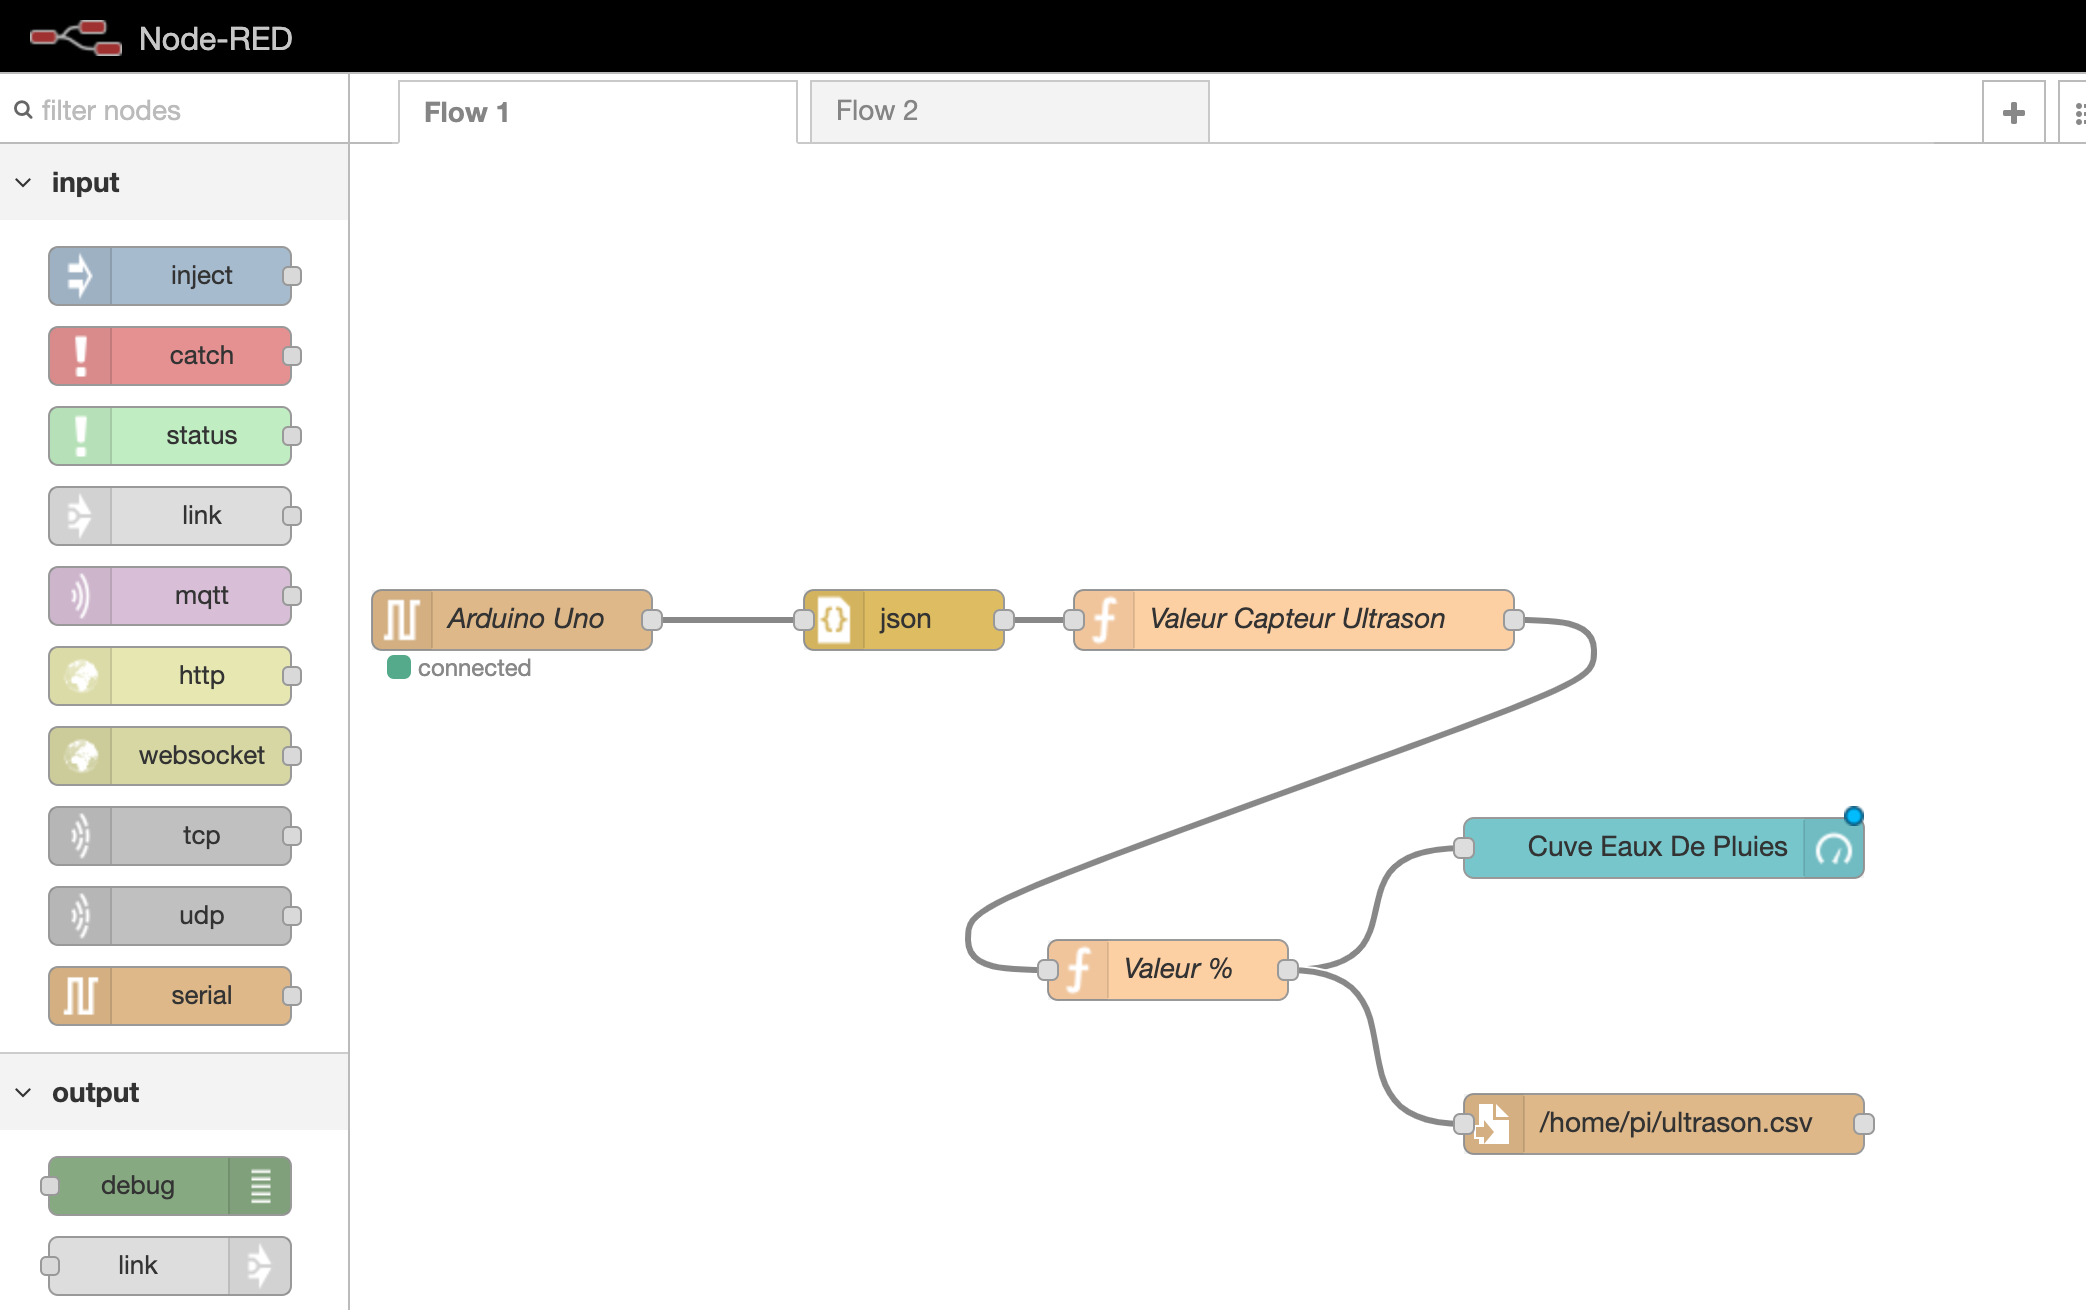
Then, via the receiver code on the Arduino Uno, I modified the value in JSON format and finally I used node-red to create a gauge (like the rpi-info module by @piznel).
Could someone help me create a module on Gladys to integrate it into the dashboard?
I assume you’re on Gladys 3? I don’t know if you’re following the project’s progress, but we’re currently working on Gladys 4 and the first alpha version has already been released.
In Gladys 3, it’s not possible to create a dashboard box linked to a module. In Gladys 4, the module functionality is a bit different, but it’s possible!
you will make two people happy, I’m also interested in your setup/photos . I also have a project to monitor the remaining water in my rainwater tank, so as not to start the automatic watering when it’s empty ^^
/*
 * Example code for an HC-SR04 ultrasonic sensor.
 * Value communication at 433MHz
 */

#include <VirtualWire.h>

/* Constants for the pins */
const byte TRIGGER_PIN = 2; // TRIGGER pin
const byte ECHO_PIN = 3;    // ECHO pin
const byte VW_SET_TX_PIN = 12;

 /* Constants for the timeout */
const unsigned long MEASURE_TIMEOUT = 25000UL; // 25ms = ~8m at 340m/s

/* Speed of sound in air in mm/us */
const float SOUND_SPEED = 340.0 / 1000;

/** Setup() function */
void setup() {

/** Initialize the VirtualWire library */
vw_setup(2000);

/* Initialize the serial port */
  Serial.begin(115200);

  /* Initialize the pins */
  pinMode(TRIGGER_PIN, OUTPUT);
  digitalWrite(TRIGGER_PIN, LOW); // The TRIGGER pin must be LOW at rest
  pinMode(ECHO_PIN, INPUT);
}

/** Loop() function */
void loop() {

  /* 1. Start a distance measurement by sending a HIGH pulse of 10µs on the TRIGGER pin */
  digitalWrite(TRIGGER_PIN, HIGH);
  delayMicroseconds(10);
  digitalWrite(TRIGGER_PIN, LOW);

  /* 2. Measure the time between the sending of the ultrasonic pulse and its echo (if it exists) */
  long measure = pulseIn(ECHO_PIN, HIGH, MEASURE_TIMEOUT);

  /* 3. Calculate the distance from the measured time */
  int distance_mm = measure / 2.0 * SOUND_SPEED;

  /* Display the results in mm */

  Serial.print(distance_mm);
  Serial.println();

  /* Send the message */
  vw_send((byte *) & distance_mm, sizeof(distance_mm));

  /* Wait for the end of the transmission */
  vw_wait_tx();

  /* Wait delay to avoid displaying too many results per second */
  delay(1000);
}
//load libraries
#include <VirtualWire.h>

const byte VW_SET_RX_PIN = 11;

void setup() {
  Serial.begin(115200);

  // Initialize the VirtualWire library
  // You can change the RX/TX/PTT pins before vw_setup() if necessary
  vw_setup(2000);
  vw_rx_start(); // Now we can receive messages

}

void loop() {
  float distance_mm;
  byte message_size = sizeof(float);

  /*
   The "message_size" variable must be reset to
   the size of the variable before being able to receive a message.
   The easiest way is to use a local variable to avoid
   having to reassign the value at the beginning of loop().
   */

  // Wait to receive a message
  vw_wait_rx();

  if (vw_get_message((byte *) &distance_mm, &message_size)) {
    // Copy the message, whether it is corrupted or not

   if (distance_mm >= 0 && distance_mm <= 400)
   { Serial.print("Tank filled to: 100%"); }
   else if (distance_mm >= 401 && distance_mm <= 540)
   { Serial.print("Tank filled to: 90%"); }
   else if (distance_mm >= 541 && distance_mm <= 680)
   { Serial.print ("Tank filled to: 80%"); }
   else if (distance_mm >= 681 && distance_mm <= 820)
   { Serial.print ("Tank filled to: 70%"); }
   else if(distance_mm >= 821 && distance_mm <= 960)
   { Serial.print ("Tank filled to: 60%"); }
   else if (distance_mm >= 961 && distance_mm <= 1100)
   { Serial.print ("Tank filled to: 50%"); }
   else if (distance_mm >= 1101 && distance_mm <= 1290)
   { Serial.print ("Tank filled to: 40%"); }
   else if (distance_mm >= 1291 && distance_mm <= 1400)
   { Serial.print ("Tank filled to: 30%"); }
   else if (distance_mm >= 1401 && distance_mm <= 1550)
   { Serial.print ("Tank filled to: 20%"); }
   else if (distance_mm >= 1551 && distance_mm <= 1700)
   { Serial.print ("Tank almost empty: 10%"); }
   else if (distance_mm >= 1701 && distance_mm <= 2000)
   { Serial.print ("Tank almost empty: 5%"); }
   Serial.println();
  }
}
//load libraries
#include <VirtualWire.h>

const byte VW_SET_RX_PIN = 11;

void setup() {
  Serial.begin(115200);

  // Initialize the VirtualWire library
  // You can change the RX/TX/PTT pins before vw_setup() if necessary
  vw_setup(2000);
  vw_rx_start(); // Now we can receive messages

}

void loop() {
  int distance_mm;
  byte message_size = sizeof(int);

  /*
   The "message_size" variable must be reset to
   the size of the variable before being able to receive a message.
   The easiest way is to use a local variable to avoid
   having to reassign the value at the beginning of loop().
   */

  // Wait to receive a message
  vw_wait_rx();

  if (vw_get_message((byte *) &distance_mm, &message_size))
    // Copy the message, whether it is corrupted or not

  Serial.print("{\"HRC_04\":");
  Serial.print(distance_mm);
  Serial.println("}");

  delay(5000);

}
Last summer I installed a Fibaro double switch behind a double switch.
Switch 1: turns on the pump that sends water to the garden
Switch 2: turns on the solenoid valve that allows water to pass for automatic watering
Now I need to add a system that prevents the pump from turning on if there is no more water. This is where I am, I think I’ll get back to it in the spring so I can test it, it’s too cold now
Rather than an Arduino, an ESP seems perfectly sufficient to me, but I haven’t progressed any further than that.